


“MiniBio auto-reader” has been added to your cart. View cart
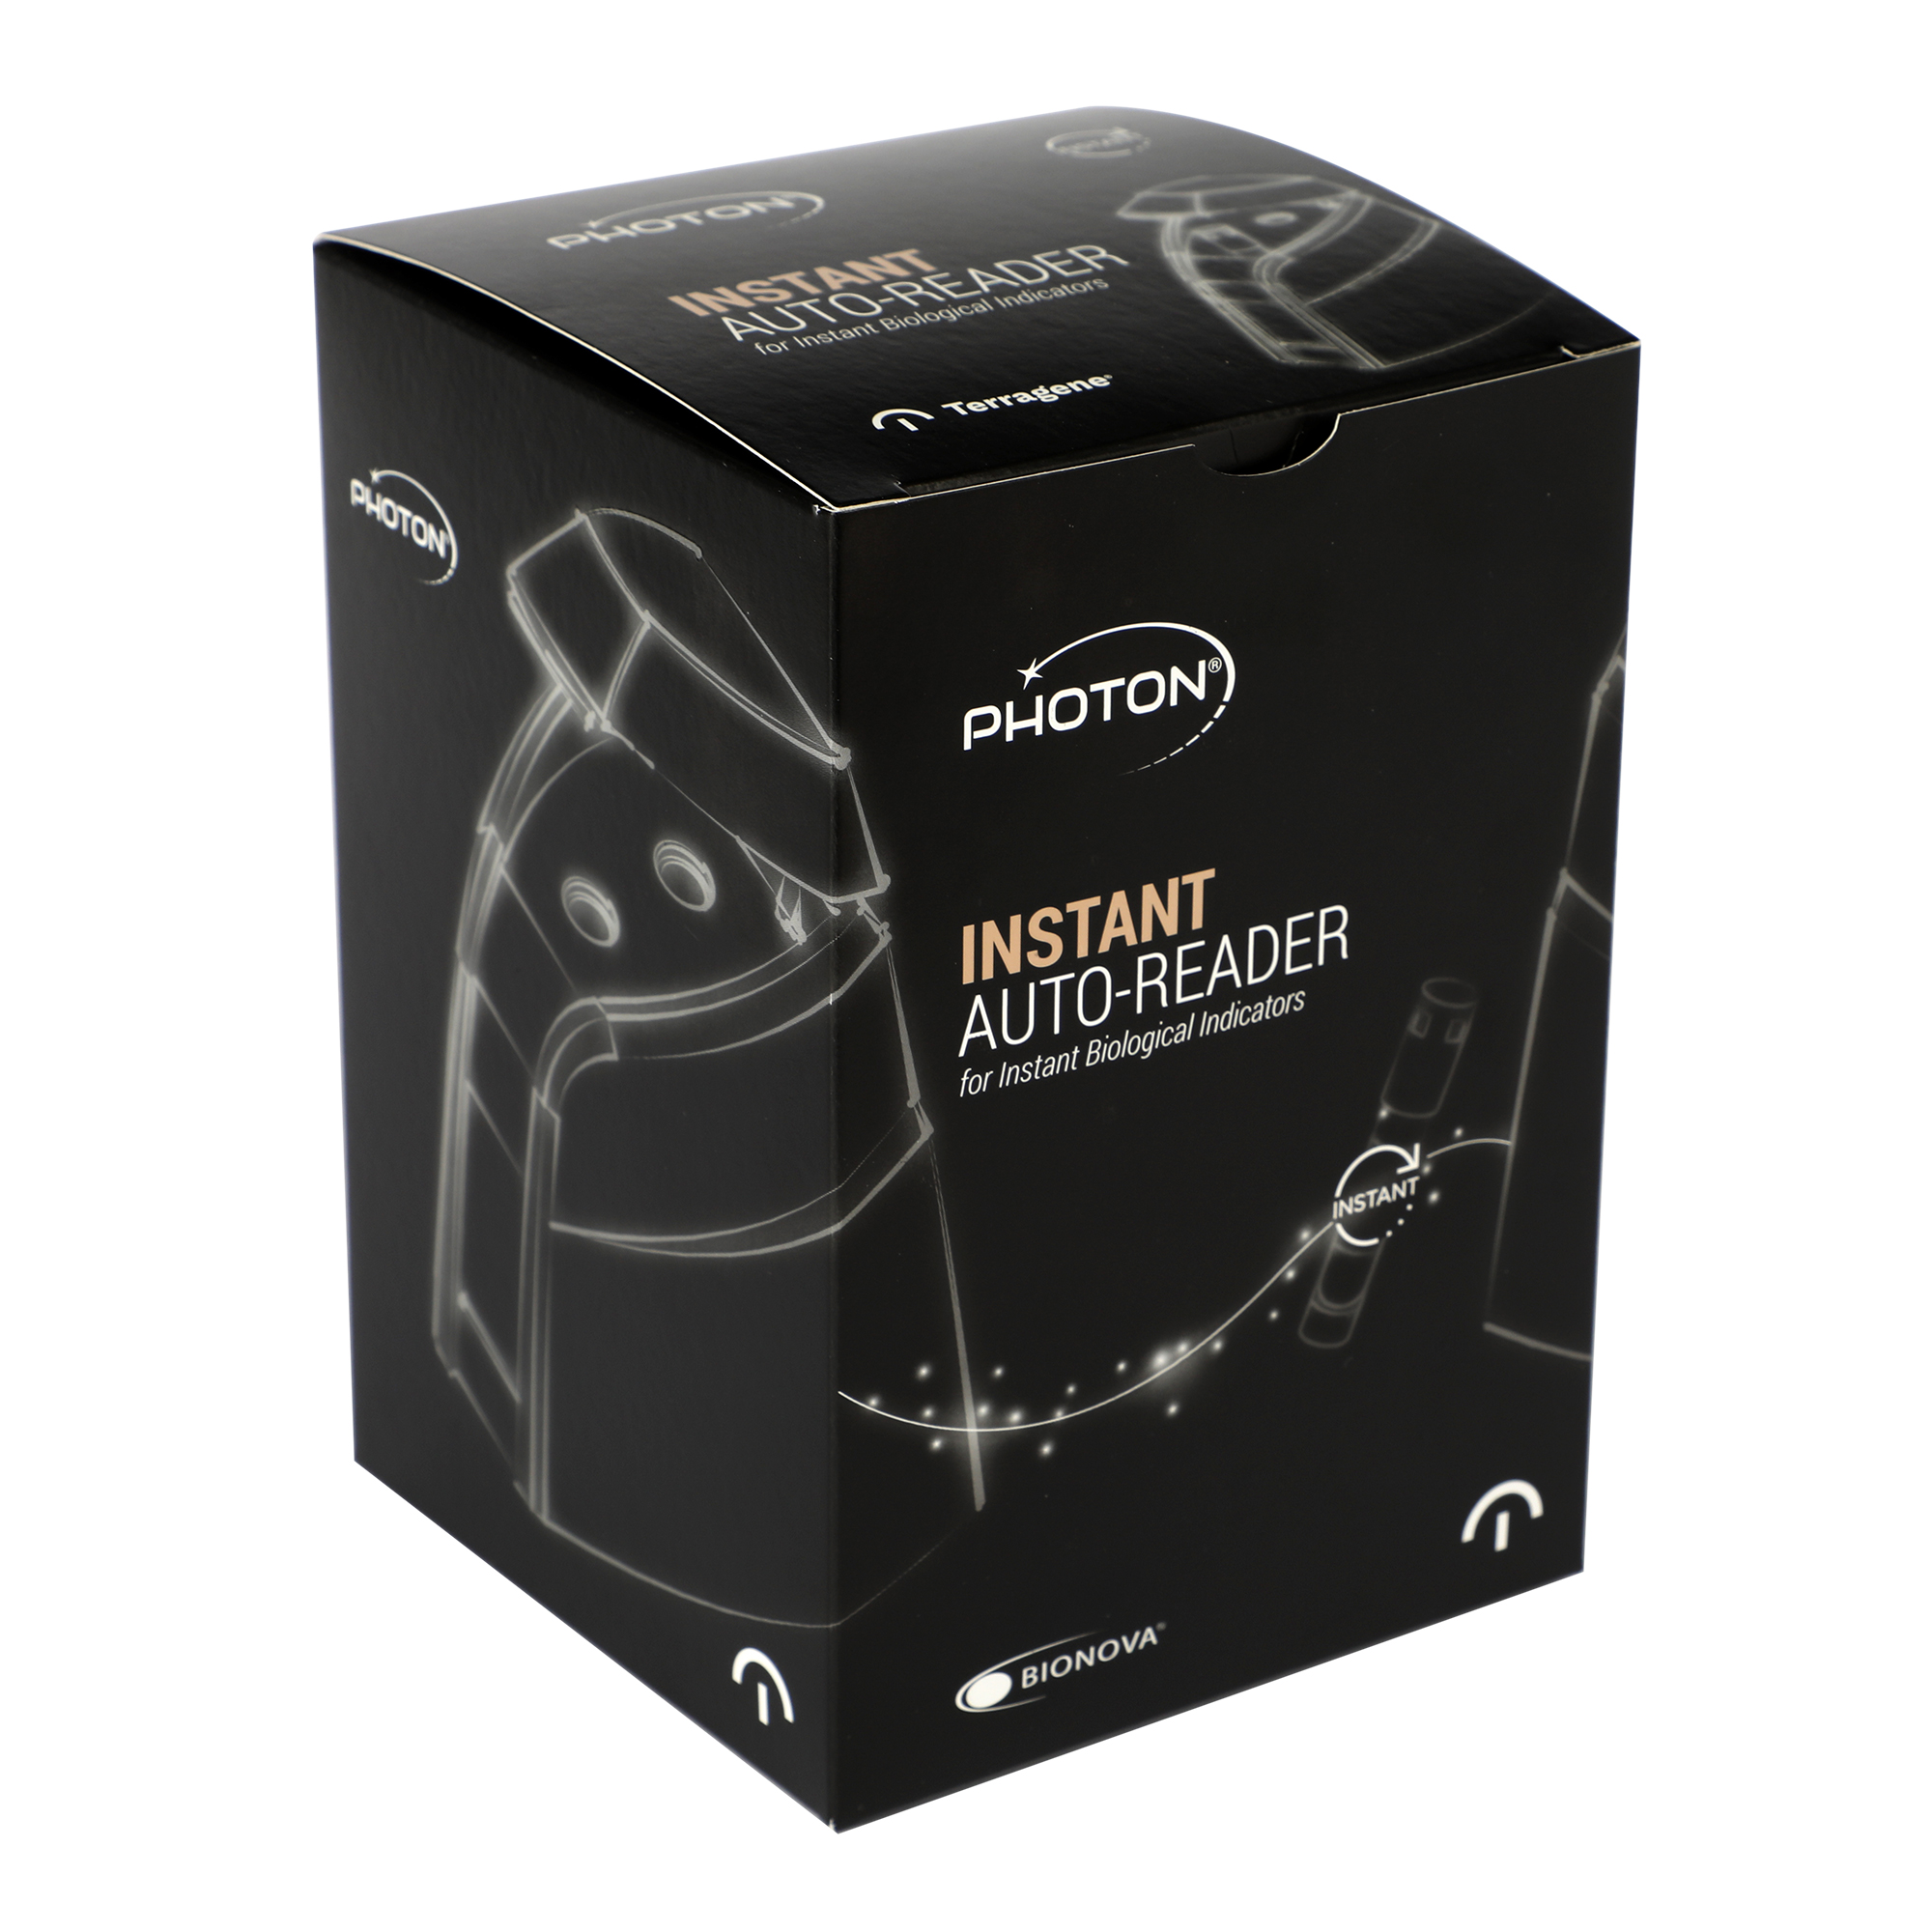
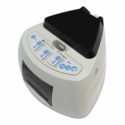
BPH Photon AutoReader Incubator
* The IC10/20 incubator does not have Bionovacloud support
Additional information
| Brand | Bionova |
|---|---|
| Process | Steam |
| Packaging | 1 |
| Read-Out Time | 7 sec |
| Operating specifications | Input 100/240V 0.2A (50/60Hz)|Output: 12V 4A |
| Working temperature | 60 ± 2°C |
| Field of activity | Dental, Healthcare |
Description
BPH-Photon. 7 sec. Designed for the incubation and automatic readout of Biological Indicator for Steam sterilization processes. Final readout: 7″.
FDA granted
Product description
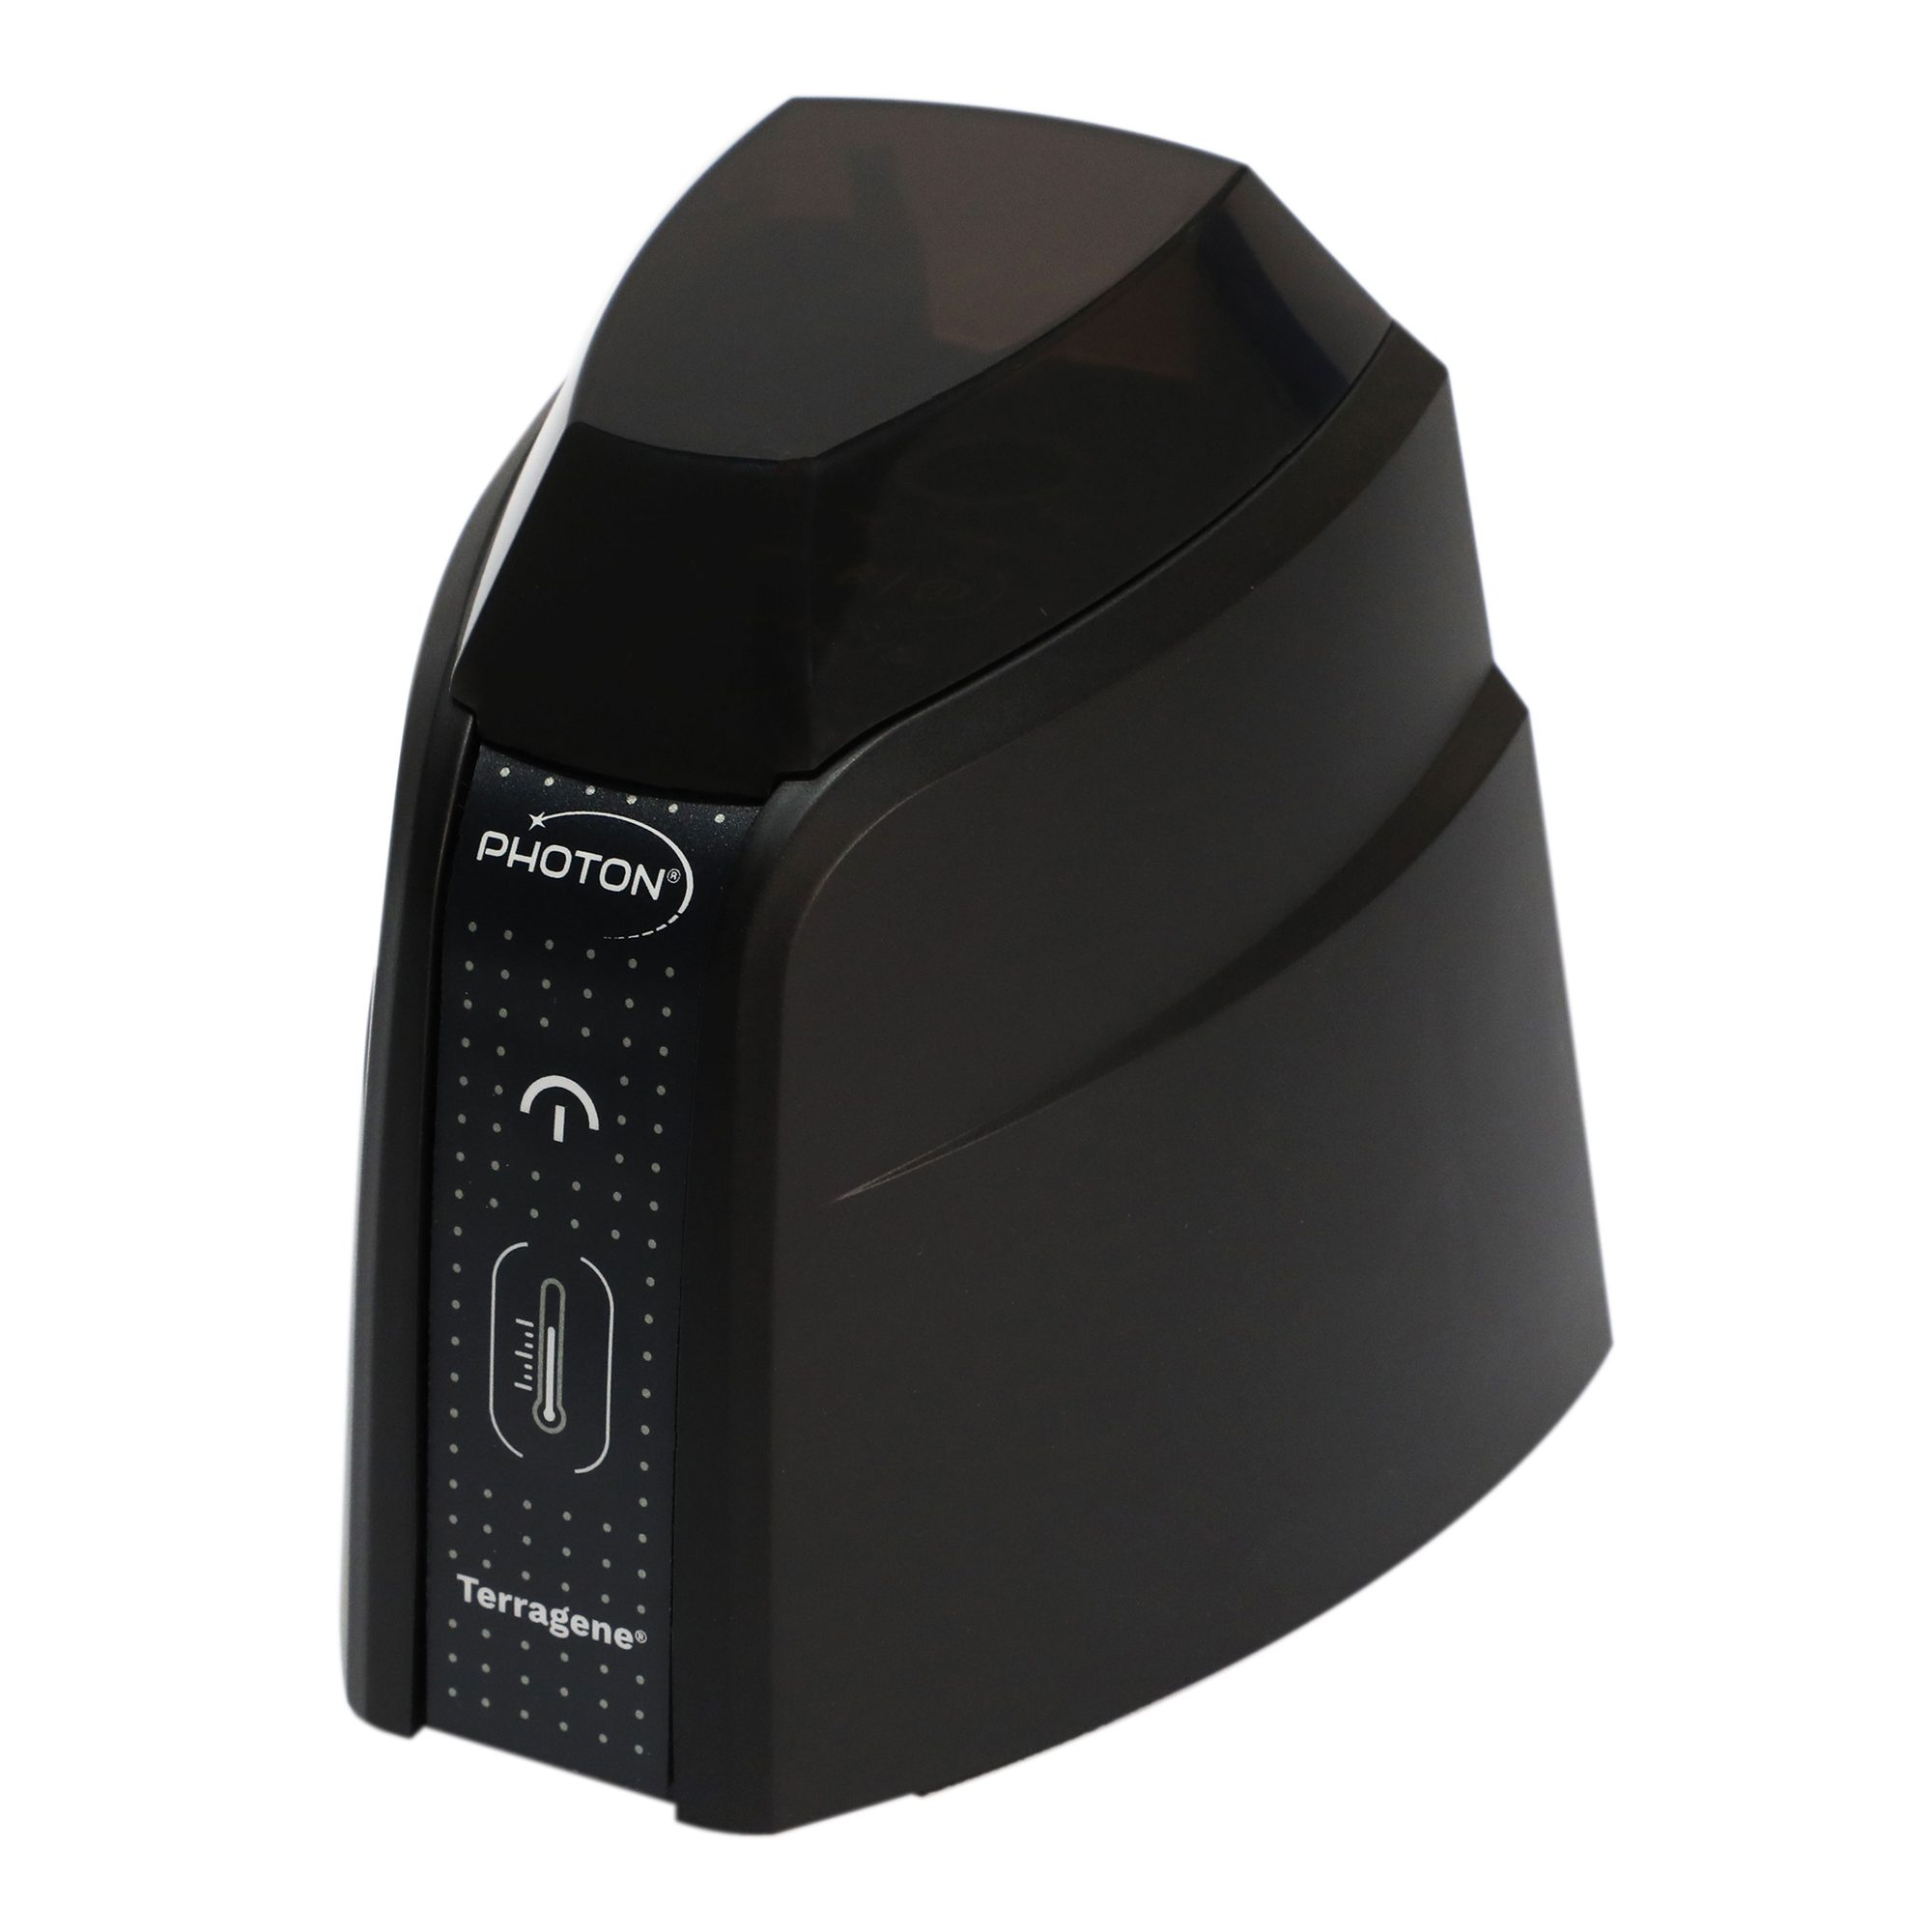
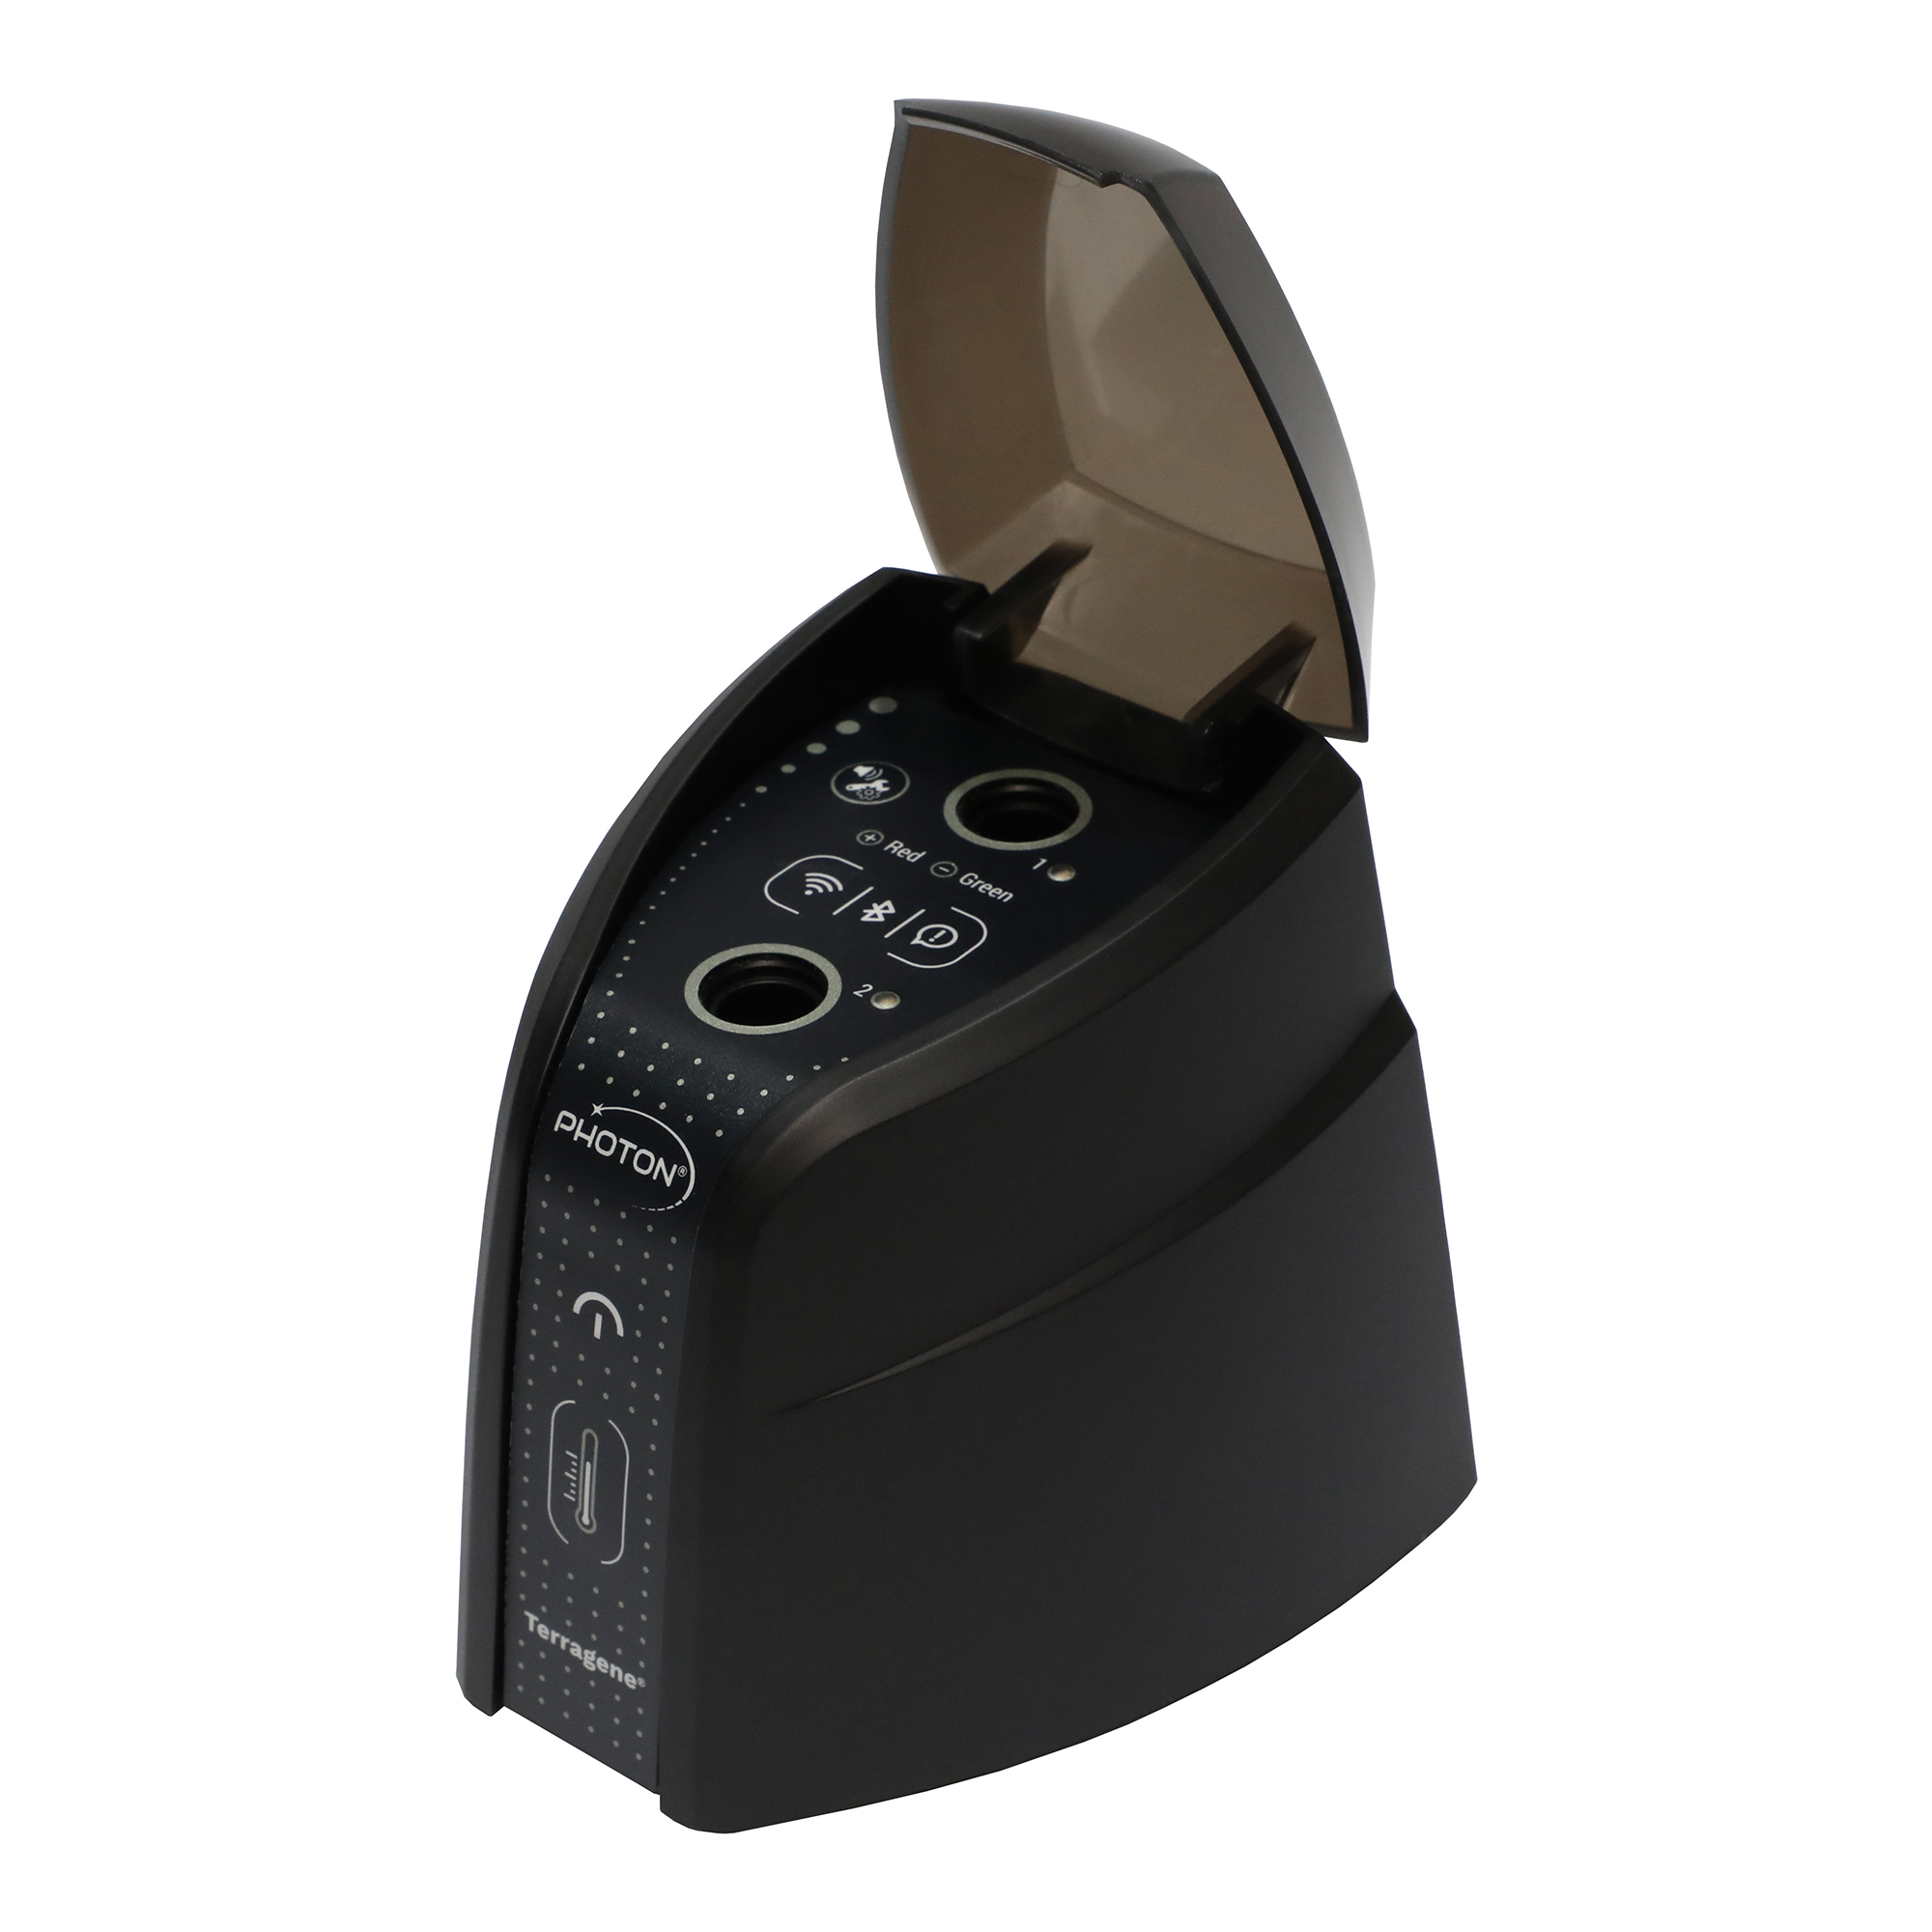
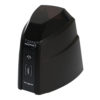
Terragene® Bionova® Photon Auto-reader Incubator (BPH) has been designed for the incubation and automatic readout of the Bionova® Photon line of Self-contained Biological Indicators (SCBIs) appropriate for monitoring Steam Sterilization Cycles. Bionova® Photon Auto-reader presents two independent readout positions. Each position automatically detects whenever a SCBI is placed for incubation and delivers a readout result after a few seconds using advanced fluorescence techniques.
Bionova® Photon Auto-reader allows easy and rapid detection of positive and negative SCBIs. A positive result can also be evidenced by culture medium color change when performing extended incubations. Read the instructions for use of each SCBI for more information. The option to perform or not an extended incubation depends on the internal protocols of
each laboratory or hospital.
Bionova® Photon Auto-reader has built-in USB, Wi-Fi, and Bluetooth® technology connectivity capabilities. The electronic tickets (e-tickets) created for each readout process can be accessed using a compatible device thus allowing easy documentation compliance and traceability.
Instructions for use
1) Place the Bionova® Photon Auto-reader on a firm surface, free from vibrations, away from direct sunlight, currents of hot or cold air, chemical and corrosive or flammable substances.
Do not place the Incubator in a way that disconnection of the power supply’s AC plug from mains could be difficult. Leave a space of at least 10 cm from the Incubator to the closest wall. Do not move the Incubator periodically or during its use. Connect the Incubator to a secure and stable electrical mains outlet socket. Do not wet or heat the device. If liquid is spilled on the Incubator, disconnect it and follow the instructions on the Cleaning and maintenance section.
2) Power on your Bionova® Photon Auto-reader by connecting the power supply’s AC plug to mains and then connect the plug at the other end of power supply to the rear of the Auto-reader. Before power on, verify that all incubation positions are empty.
3) Set-up the Auto-reader local date and time running the Bionova® Wireless Assistant on a compatible mobile device. Refer to the Bionova® Wireless Assistant section for more information. All devices are manufactured with the following settings: Time zone: UTC +0:00
4) After turning on the device, a two-steps initialization sequence will start. Please wait until the sequence is complete before using the Auto-reader.
During the first step, the Auto-reader will set and stabilize the incubation temperature. When the correct temperature is reached, the Temperature progress & stability indicator will stop blinking. During the final step, the Auto-reader will set the readout system of each incubation position. When the readout system is ready for a reading, the Terragene® logo will stop blinking. Once both indicators have stopped blinking, the initialization sequence is complete.
Do not place an indicator on an incubation position before initialization sequence is complete.
5) Once the initialization sequence is complete, a one-time automated test to check each position internal status will be carried out (Auto-test).
Once the test has been completed, the Position status indicator will turn green to indicate that the position can be used to perform readings, or it will turn red to indicate that an error has occurred. When the Auto-reader detects an error in a position, such position will be disabled to guarantee the reliability of the results and it can not be used to perform any further readings.
To indicate that a position has been disabled, the Position status indicator will turn red and will blink indefinitely. For the correct performance of the Auto-test keep the Protective Cover closed when the Auto-test is running.
6) After the Auto-test has been completed, readings can be initiated on any incubation position if the position is not disabled. Place an indicator in a SCBI reading position. The reading process will start automatically after placing the SCBI.
The Auto-reader will emit an audible notification indicating that a reading has successfully began, at the same time the position status lights will start blinking. Close the Protective Cover, and wait until a readout result is informed. Read and follow the SCBI’s instructions for use. Before placing an SCBI in the Auto-reader, press the top to seal the tube. Crush the internal ampoule (using the Auto-reader’s Ampoule Crusher, or using the Ampoule Crusher included on the SCBI’s box). Make sure that culture medium completely wets the spore carrier at the base of the SCBI’s tube.
Do not remove or change the SCBI’s placement once a reading process has begun. If this occurs, results may be invalidated.
See Cancelling a reading section for further details. If the incubator does not start a reading immediately after placing an SCBI in a reading position, refer to the Troubleshooting section for more information.
7) When a positive result is detected in a reading position, the Position status indicator will turn red and an audible alarm will activate. This indicates that the sterilization process to which the SCBI was exposed, has failed. Once the SCBI is removed, the alarm and the red light will turn off automatically after 30 seconds. The position will be available to start a new reading once the Position status indicator has turned off. Press the button to cancel the audible alarm.
When a negative result is detected in a reading position, the Position status indicator will turn green. This indicates that the sterilization process to which the SCBI was exposed, has been successful. Once the SCBI is removed, the green light will turn off automatically after 30 seconds. The position will be available to start a new reading once the Position status indicator has turned off.
Note: The incubation time setting defines the upper time limit in which an Auto-reader can inform a fluorescence readout. Nevertheless, the Auto-reader can detect and inform a positive result before the selected time limit as part of its normal operation.
8) Each time a readout is carried out the Auto-reader will store the fluorescence readout result along with an uniquely assigned ID identifier in its internal memory. Refer to the Results management section to learn more. Positive, Negative, and Canceled Results will be stored in the internal memory.
Description
BPH-Photon. 7 sec. Designed for the incubation and automatic readout of Biological Indicator for Steam sterilization processes. Final readout: 7″.
FDA granted
Product description
Terragene® Bionova® Photon Auto-reader Incubator (BPH) has been designed for the incubation and automatic readout of the Bionova® Photon line of Self-contained Biological Indicators (SCBIs) appropriate for monitoring Steam Sterilization Cycles. Bionova® Photon Auto-reader presents two independent readout positions. Each position automatically detects whenever a SCBI is placed for incubation and delivers a readout result after a few seconds using advanced fluorescence techniques.
Bionova® Photon Auto-reader allows easy and rapid detection of positive and negative SCBIs. A positive result can also be evidenced by culture medium color change when performing extended incubations. Read the instructions for use of each SCBI for more information. The option to perform or not an extended incubation depends on the internal protocols of
each laboratory or hospital.
Bionova® Photon Auto-reader has built-in USB, Wi-Fi, and Bluetooth® technology connectivity capabilities. The electronic tickets (e-tickets) created for each readout process can be accessed using a compatible device thus allowing easy documentation compliance and traceability.
Instructions for use
1) Place the Bionova® Photon Auto-reader on a firm surface, free from vibrations, away from direct sunlight, currents of hot or cold air, chemical and corrosive or flammable substances.
Do not place the Incubator in a way that disconnection of the power supply’s AC plug from mains could be difficult. Leave a space of at least 10 cm from the Incubator to the closest wall. Do not move the Incubator periodically or during its use. Connect the Incubator to a secure and stable electrical mains outlet socket. Do not wet or heat the device. If liquid is spilled on the Incubator, disconnect it and follow the instructions on the Cleaning and maintenance section.
2) Power on your Bionova® Photon Auto-reader by connecting the power supply’s AC plug to mains and then connect the plug at the other end of power supply to the rear of the Auto-reader. Before power on, verify that all incubation positions are empty.
3) Set-up the Auto-reader local date and time running the Bionova® Wireless Assistant on a compatible mobile device. Refer to the Bionova® Wireless Assistant section for more information. All devices are manufactured with the following settings: Time zone: UTC +0:00
4) After turning on the device, a two-steps initialization sequence will start. Please wait until the sequence is complete before using the Auto-reader.
During the first step, the Auto-reader will set and stabilize the incubation temperature. When the correct temperature is reached, the Temperature progress & stability indicator will stop blinking. During the final step, the Auto-reader will set the readout system of each incubation position. When the readout system is ready for a reading, the Terragene® logo will stop blinking. Once both indicators have stopped blinking, the initialization sequence is complete.
Do not place an indicator on an incubation position before initialization sequence is complete.
5) Once the initialization sequence is complete, a one-time automated test to check each position internal status will be carried out (Auto-test).
Once the test has been completed, the Position status indicator will turn green to indicate that the position can be used to perform readings, or it will turn red to indicate that an error has occurred. When the Auto-reader detects an error in a position, such position will be disabled to guarantee the reliability of the results and it can not be used to perform any further readings.
To indicate that a position has been disabled, the Position status indicator will turn red and will blink indefinitely. For the correct performance of the Auto-test keep the Protective Cover closed when the Auto-test is running.
6) After the Auto-test has been completed, readings can be initiated on any incubation position if the position is not disabled. Place an indicator in a SCBI reading position. The reading process will start automatically after placing the SCBI.
The Auto-reader will emit an audible notification indicating that a reading has successfully began, at the same time the position status lights will start blinking. Close the Protective Cover, and wait until a readout result is informed. Read and follow the SCBI’s instructions for use. Before placing an SCBI in the Auto-reader, press the top to seal the tube. Crush the internal ampoule (using the Auto-reader’s Ampoule Crusher, or using the Ampoule Crusher included on the SCBI’s box). Make sure that culture medium completely wets the spore carrier at the base of the SCBI’s tube.
Do not remove or change the SCBI’s placement once a reading process has begun. If this occurs, results may be invalidated.
See Cancelling a reading section for further details. If the incubator does not start a reading immediately after placing an SCBI in a reading position, refer to the Troubleshooting section for more information.
7) When a positive result is detected in a reading position, the Position status indicator will turn red and an audible alarm will activate. This indicates that the sterilization process to which the SCBI was exposed, has failed. Once the SCBI is removed, the alarm and the red light will turn off automatically after 30 seconds. The position will be available to start a new reading once the Position status indicator has turned off. Press the button to cancel the audible alarm.
When a negative result is detected in a reading position, the Position status indicator will turn green. This indicates that the sterilization process to which the SCBI was exposed, has been successful. Once the SCBI is removed, the green light will turn off automatically after 30 seconds. The position will be available to start a new reading once the Position status indicator has turned off.
Note: The incubation time setting defines the upper time limit in which an Auto-reader can inform a fluorescence readout. Nevertheless, the Auto-reader can detect and inform a positive result before the selected time limit as part of its normal operation.
8) Each time a readout is carried out the Auto-reader will store the fluorescence readout result along with an uniquely assigned ID identifier in its internal memory. Refer to the Results management section to learn more. Positive, Negative, and Canceled Results will be stored in the internal memory.
Related Products


More Products
")
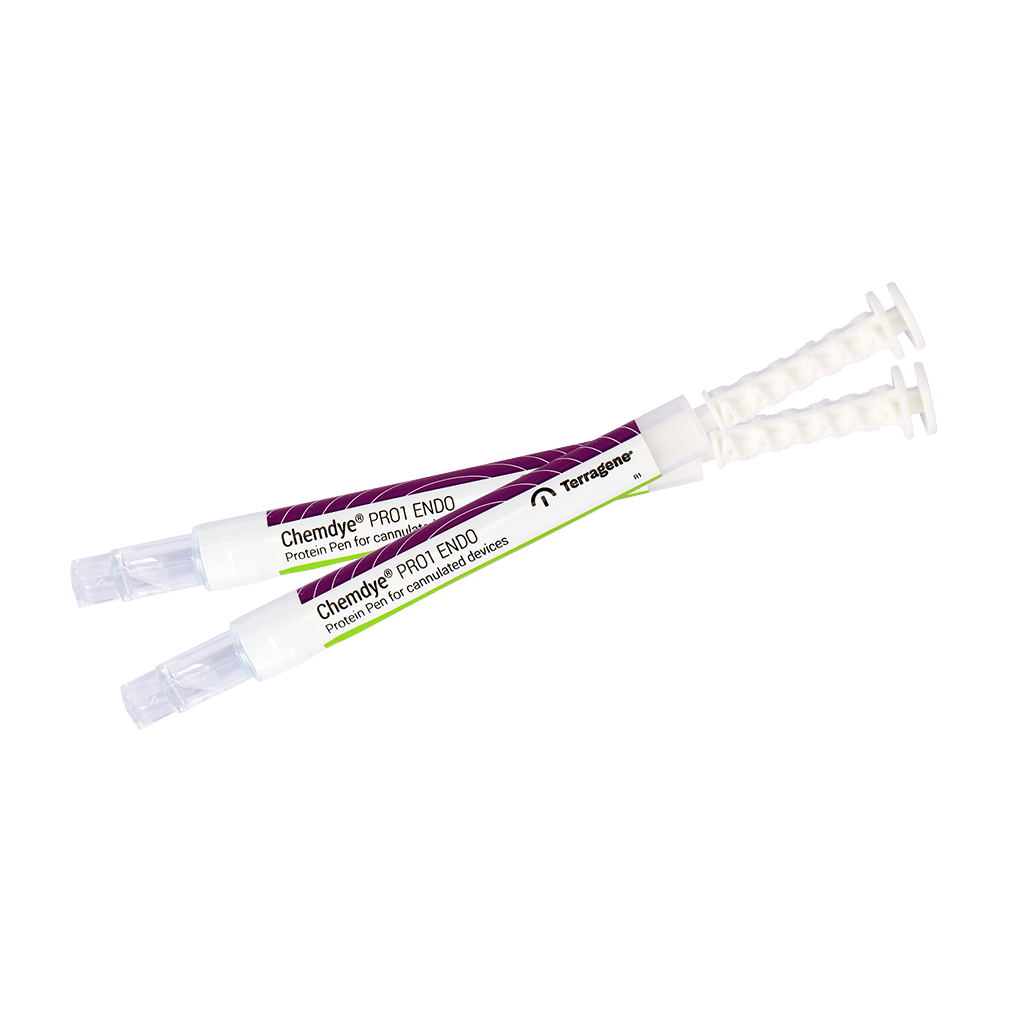
PRO1 ENDO