


“48h Biological Indicator for LTSF” has been added to your cart. View cart
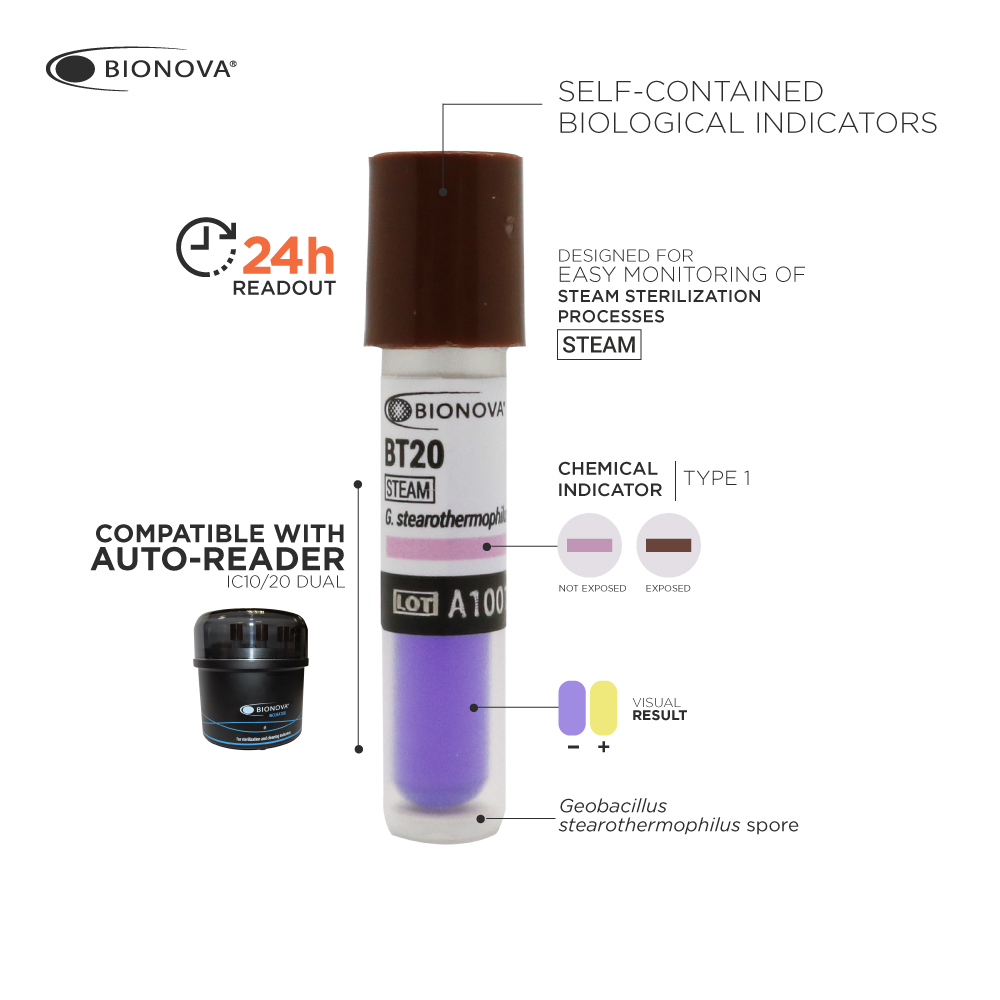
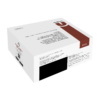
24h Biological Indicator for Steam
Additional information
| Brand | Bionova |
|---|---|
| Process | Steam |
| Packaging | 30, 10, 100 |
| Microorganism | Geobacillus stearothermophilus (ATCC® 7953) |
| Population | 10^6 Spores/carrier |
| Read-Out Time | 24 h |
| Regulations | IRAM 37102-1, IRAM 37102-3, ISO 11138-1, ISO 11138-3 |
| Field of activity | Dental, Healthcare, Pharmaceutical |
Description
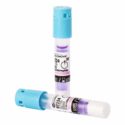
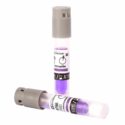
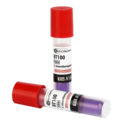
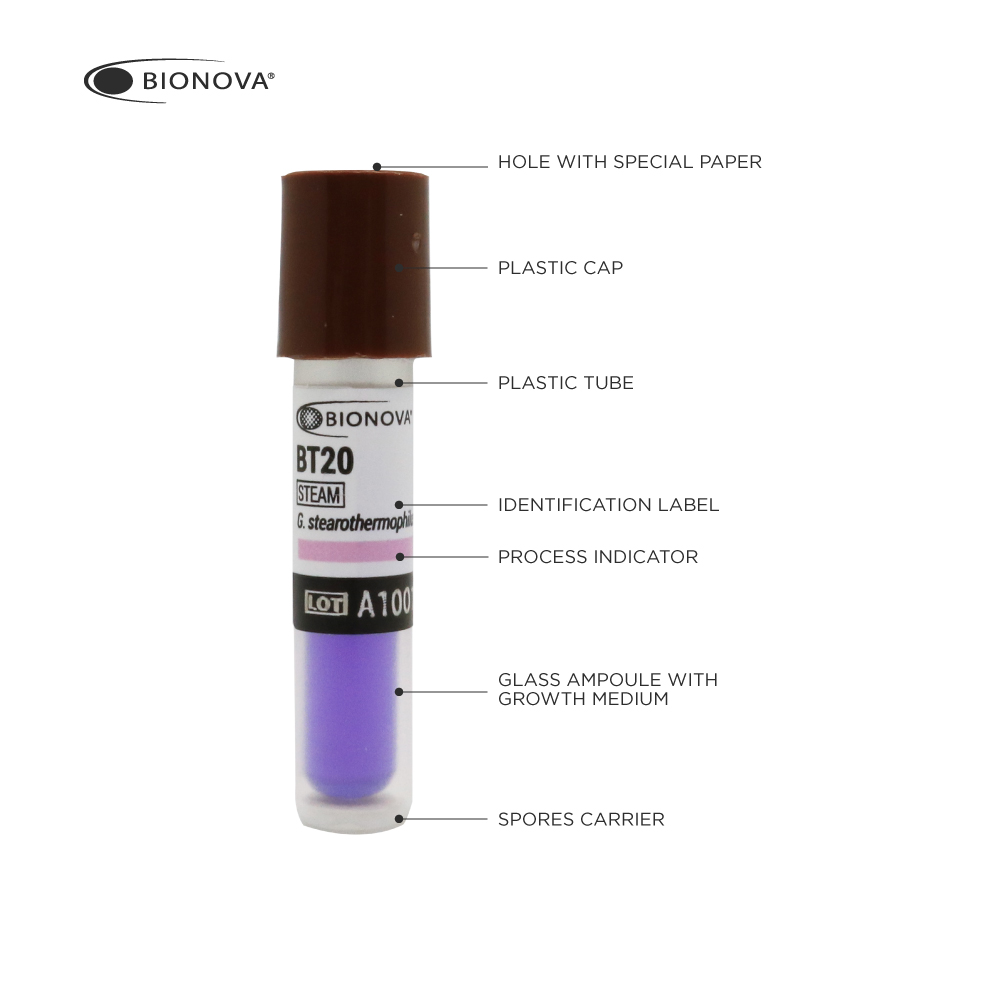
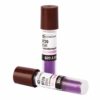
BT20 / Self-contained Biological Indicator for Steam sterilization processes. Geobacillus stearothermophilus (ATCC® 7953) 10^5 or 10^6 spores per vial. Readout: 24 hours.
Monitoring vacuum-assisted and gravity air-displacement Steam Sterilization processes at 121-135 °C.
Instructions for use
1. Identify the Bionova® BT20 Indicator by writing the sterilizer number (in case of having more than one), load number and processing date on the indicator label.
2. Pack the biological indicator along with materials to be sterilized in an appropriate package according to recommended sterilization practices. Place this package in those areas which a priori you consider most inaccessible for the sterilizing agent (Steam). Generally, the center of the load and areas near the door are problematic.
3. Sterilize as usual.
4. After the sterilization process has finished, open the sterilizer door, wait for 5 minutes and remove the biological indicator from the package. CAUTION: Wear safety glasses and gloves when removing the Bionova® BT20 Biological Indicator from the sterilized package. WARNING: Do not crush or handle the biological indicator excessively, since this might cause the glass ampoule to burst.
5. Allow the biological indicator to cool down to room temperature.
6. Check the chemical indicator on the label of the biological indicator. A color change to brown confirms that the biological indicator has been exposed to steam. IMPORTANT: this color change does not indicate that the process was sufficient to achieve sterility. If the chemical indicator is unchanged, check the sterilization process.
7. Crush the ampoule contained in the biological indicator with an individual ampoule crusher or with the ampoule crusher placed within the top of the incubator´s incubation area. Then shake the tube down vigorously, with movements similar to those performed to lower the temperature of a mercury thermometer, until the medium reaches the base of the tube and soaks the spore carrier entirely. Finally, place the biological indicator in the incubator.
IMPORTANT: Use a non-sterilized biological indicator as a positive control at least once per day, when a sterilization cycle is run. The positive control ensures that appropriate incubation conditions were met. Both the positive control indicator and the processed indicator should belong to the same batch.
8. Incubate the processed biological indicator and the indicator used as a positive control for a maximum of 24 hours between 55-62 ºC. Readout should be carried out at convenient intervals of 10 hours. Color change of the growth indicator medium from purple to yellow means that a sterilization process failure has occurred.
If at 24 hours there is no color change in the processed indicators, a final negative result is obtained (the sterilization process was effective). The positive control indicator should show a purple to yellow color change for the results to be valid. NOTE: To extend the incubation time beyond 24 hours, we recommend using a humidified environment to prevent complete evaporation of the culture medium contained within the indicator.
Description
BT20 / Self-contained Biological Indicator for Steam sterilization processes. Geobacillus stearothermophilus (ATCC® 7953) 10^5 or 10^6 spores per vial. Readout: 24 hours.
Monitoring vacuum-assisted and gravity air-displacement Steam Sterilization processes at 121-135 °C.
Instructions for use
1. Identify the Bionova® BT20 Indicator by writing the sterilizer number (in case of having more than one), load number and processing date on the indicator label.
2. Pack the biological indicator along with materials to be sterilized in an appropriate package according to recommended sterilization practices. Place this package in those areas which a priori you consider most inaccessible for the sterilizing agent (Steam). Generally, the center of the load and areas near the door are problematic.
3. Sterilize as usual.
4. After the sterilization process has finished, open the sterilizer door, wait for 5 minutes and remove the biological indicator from the package. CAUTION: Wear safety glasses and gloves when removing the Bionova® BT20 Biological Indicator from the sterilized package. WARNING: Do not crush or handle the biological indicator excessively, since this might cause the glass ampoule to burst.
5. Allow the biological indicator to cool down to room temperature.
6. Check the chemical indicator on the label of the biological indicator. A color change to brown confirms that the biological indicator has been exposed to steam. IMPORTANT: this color change does not indicate that the process was sufficient to achieve sterility. If the chemical indicator is unchanged, check the sterilization process.
7. Crush the ampoule contained in the biological indicator with an individual ampoule crusher or with the ampoule crusher placed within the top of the incubator´s incubation area. Then shake the tube down vigorously, with movements similar to those performed to lower the temperature of a mercury thermometer, until the medium reaches the base of the tube and soaks the spore carrier entirely. Finally, place the biological indicator in the incubator.
IMPORTANT: Use a non-sterilized biological indicator as a positive control at least once per day, when a sterilization cycle is run. The positive control ensures that appropriate incubation conditions were met. Both the positive control indicator and the processed indicator should belong to the same batch.
8. Incubate the processed biological indicator and the indicator used as a positive control for a maximum of 24 hours between 55-62 ºC. Readout should be carried out at convenient intervals of 10 hours. Color change of the growth indicator medium from purple to yellow means that a sterilization process failure has occurred.
If at 24 hours there is no color change in the processed indicators, a final negative result is obtained (the sterilization process was effective). The positive control indicator should show a purple to yellow color change for the results to be valid. NOTE: To extend the incubation time beyond 24 hours, we recommend using a humidified environment to prevent complete evaporation of the culture medium contained within the indicator.