1h Biological Indicator for room desinfection with H2O2
SKU:
BT97
Categories Biological Indicators, Self-contained
Tags Rapid Fluorescence, Room and surface biodecontamination
Additional information
| Brand | |
|---|---|
| Process | Room disinfection |
| Packaging | 50 |
| Microorganism | Geobacillus stearothermophilus (ATCC® 7953) |
| Population | 10^6 Spores/carrier |
| Read-Out Time | 1 h |
| Regulations | ISO 13485 |
| Possible target markets |
Description
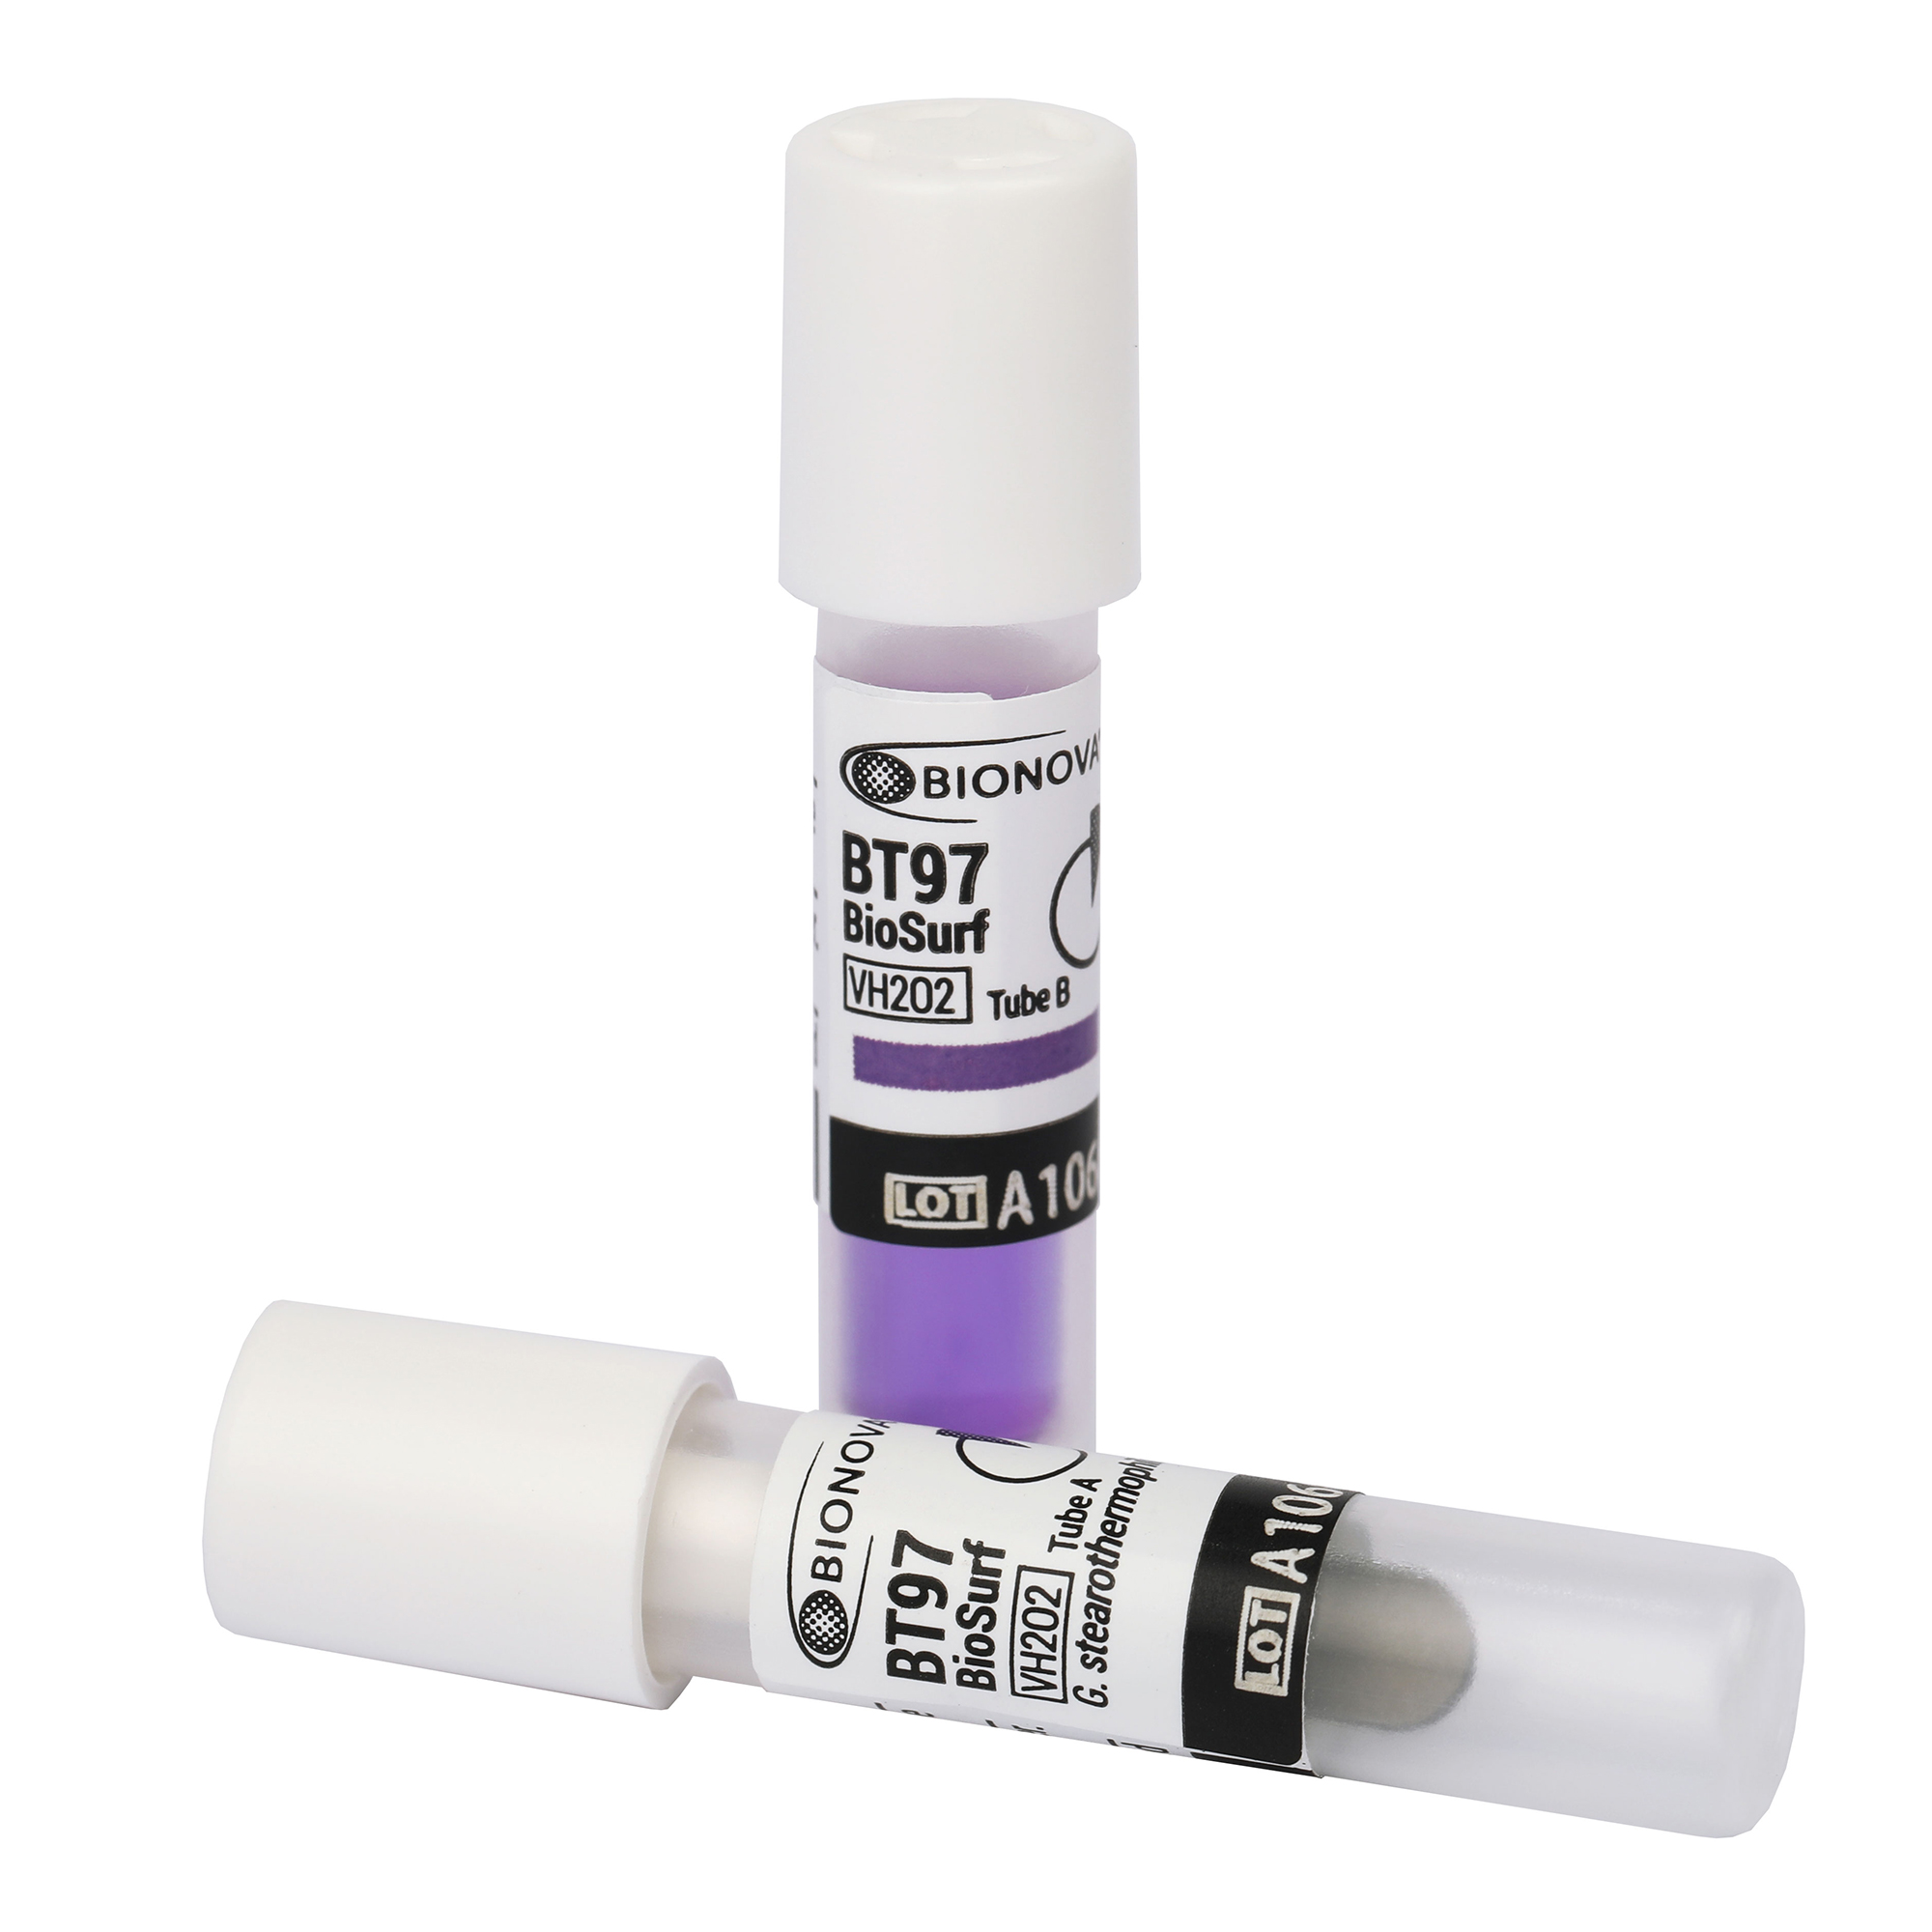
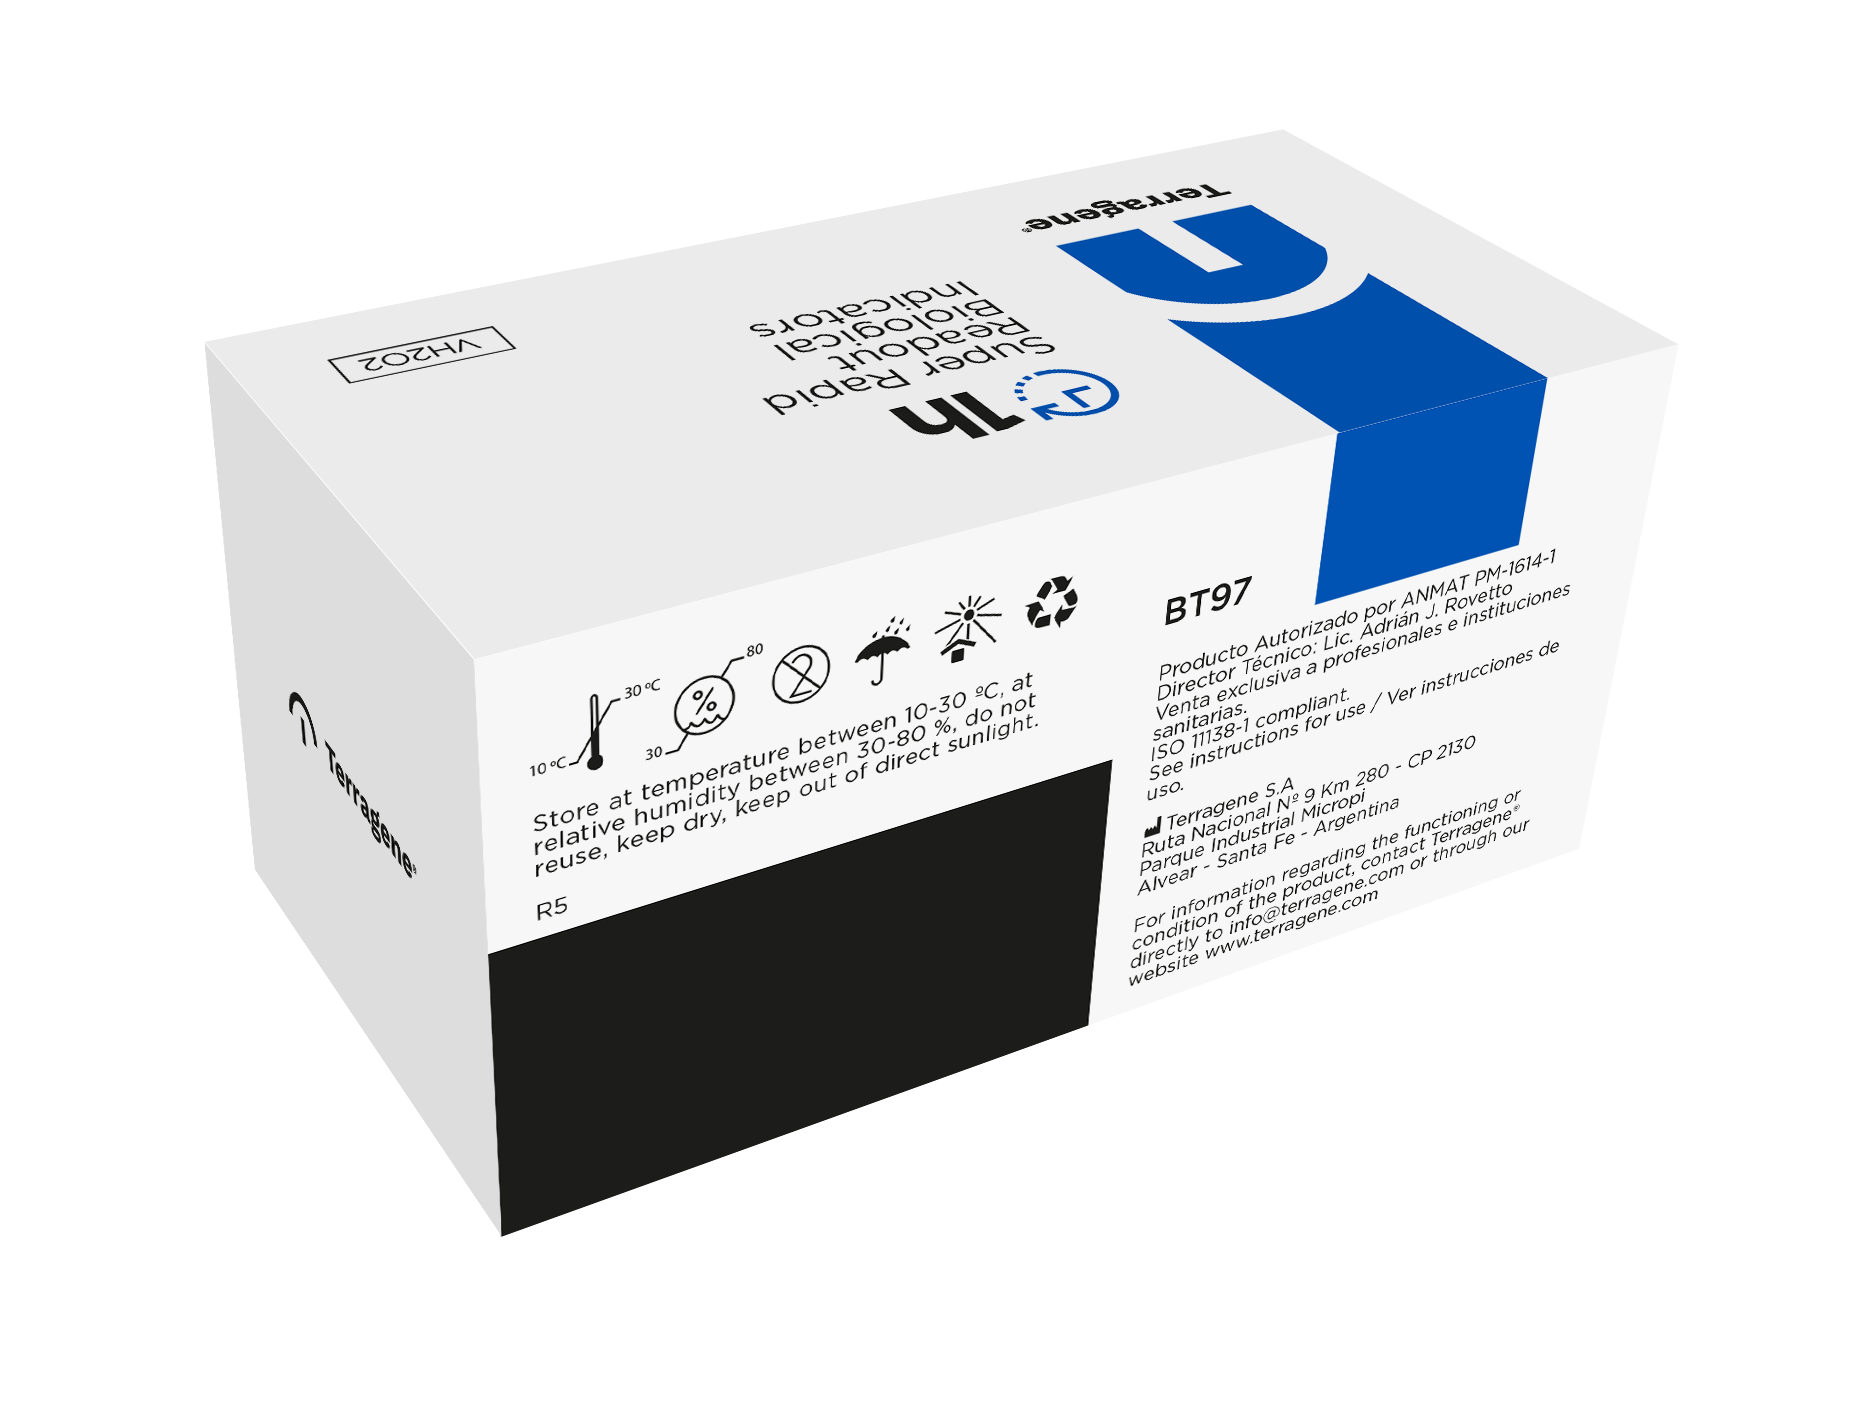
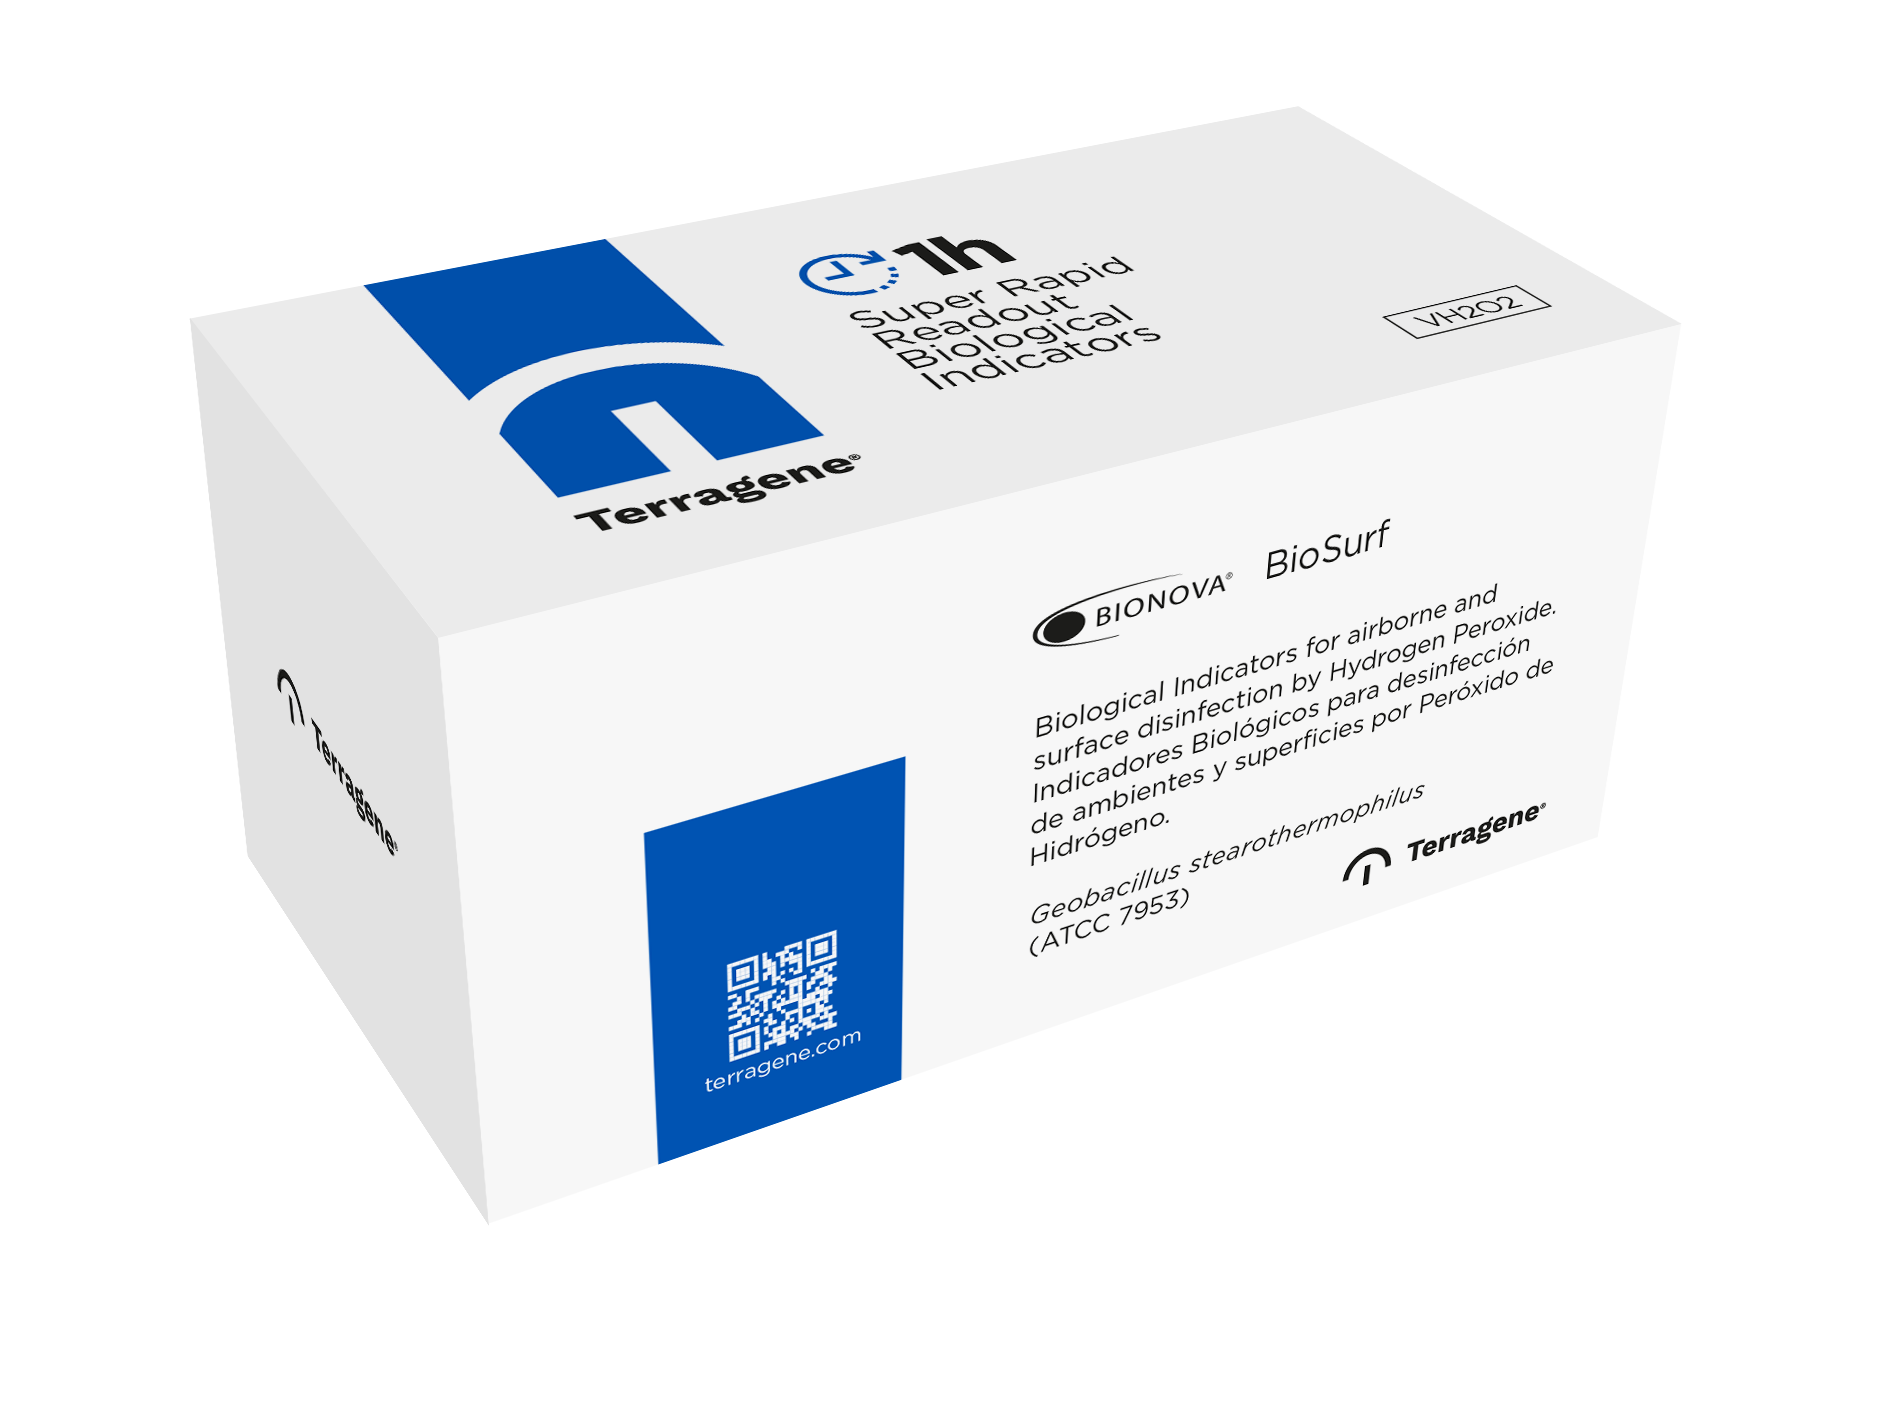
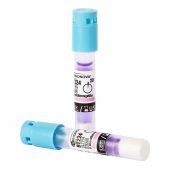
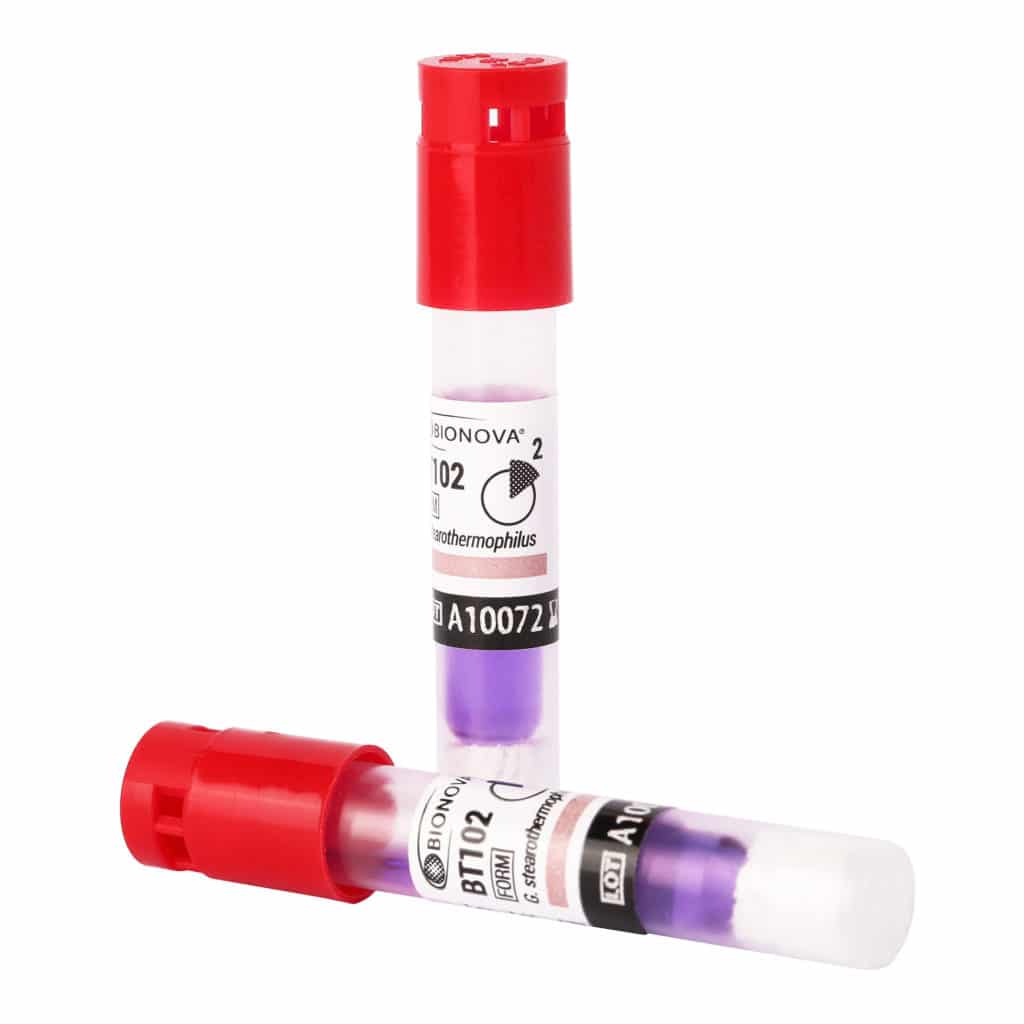
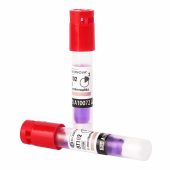
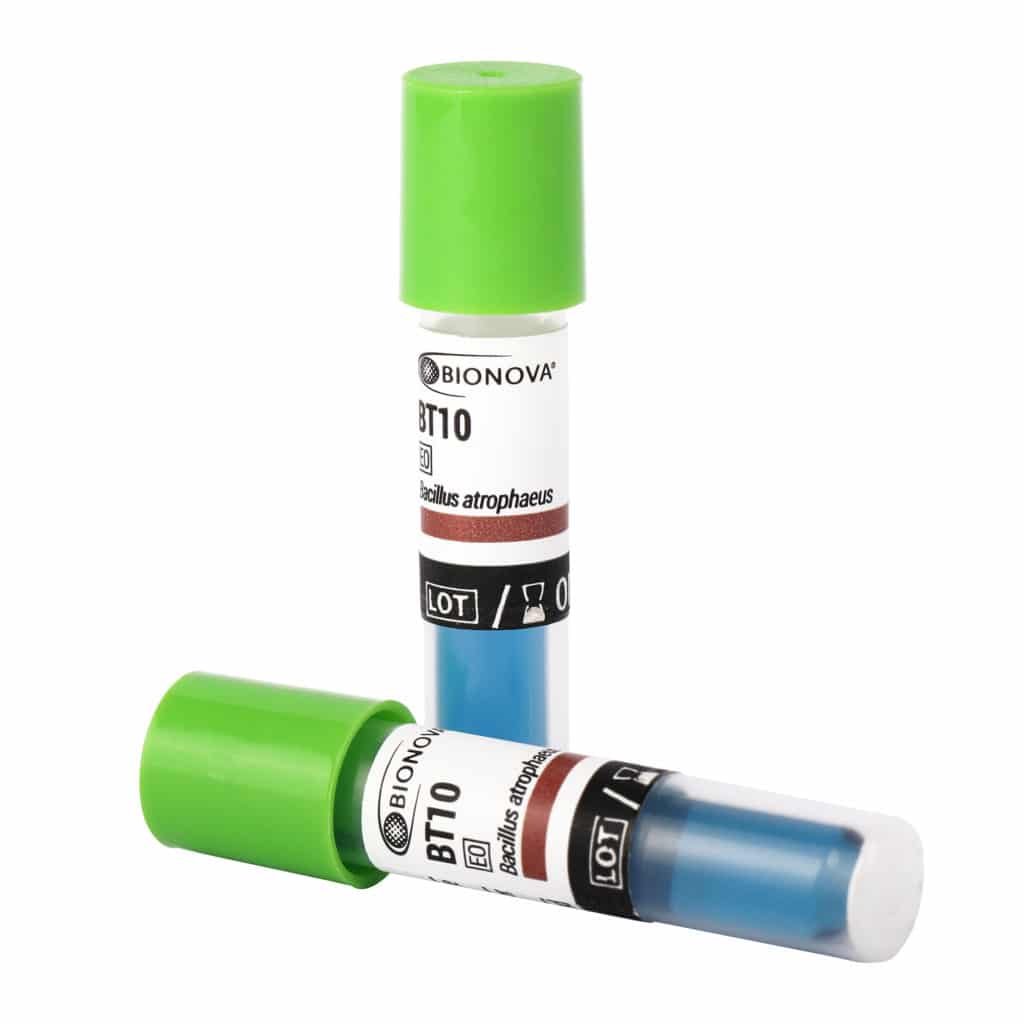
BT97 / Super Rapid Self-Contained Biological Indicator for monitoring of airborne and surface disinfection by Hydrogen Peroxide (H2O2) 10^6 Geobacillus stearothermophilus ATCC® 7953 (ATCC is a registered trademark of American Type Culture Collection) spores per vial. Each box of 50 tubes allows 25 detections: 1 spore tube + 1 culture medium tube. Readout: 1 hour Bionova® BT97 BioSurf Biological Indicator has been designed for quick and easy monitoring of airborne and surface disinfection processes by Hydrogen Peroxide. The system consists of two tubes: tube A which contains the spores to challenge the disinfection process and tube B which is used to reveal its success.
Instructions for use
1. Inside the room to be disinfected open tube A and place the lid down and carrier up on the holder specially designed for the product. The rest of the tube may be discarded. Thus, Geobacillus stearothermophilus spores are exposed to evaluate the disinfection process. Place tube B without uncovering in the remaining position of the holder.
WARNING! Place the holder with the indicator in those areas that you consider a priori more inaccessible to the Hydrogen Peroxide. Places subject to minimal flows are suggested such as corners of the room, sectors in and around the equipment and spaces between disposable materials that will be used in the room.
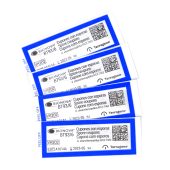
To define the most difficult areas to decontaminate, it is recommended to use several indicators in the same process. NOTE: A scheme of the room is attached to the product, where you can mark the position of the indicators with respect to the disinfection device.
2. Carry out the process of decontamination and aeration as usual.
3. Start the Bionova® Auto-reader Incubator, select the temperature (60 ºC) and the required readout program (1 hour).
IMPORTANT: Always wear both sterile clothing and personal protective equipment (glasses, mask, gloves) to enter the enclosed area. Avoid sudden movements of air. Do not reveal Bionova® BT97 BioSurf Biological Indicator until the incubator reaches the required temperature.
4. Verify that the chemical indicator printed on the label of tube B turned to green. A color change confirm that the indicator has been exposed to Hydrogen Peroxide.
IMPORTANT: This color change is not evidence that the process was successful. If the chemical indicator color has not changed, review the process.
5. Crush the ampoule contained in the biological indicator with an individual ampoule crusher or with the ampoule crusher placed within incubator´s incubation area.
Then shake the tube down vigorously, with movements similar to those performed to lower the temperature of a mercury thermometer, until the medium reaches the base of the tube and completely embeds the filter located at the bottom of the tube.
6. Remove the lid of tube B by taking the tube through the base. Discard it keeping the tube in vertical position.
7. Place the exposed lid of tube A on tube B so that the carrier contacts the culture medium.
8. Press the lid until the plastic tube is completely closed. IMPORTANT: Use a non-processed biological indicator as a positive control every time a processed indicator is incubated. The positive control ensures that the incubation conditions were adequate.
9. Incubate the processed biological indicator along with the indicator used as a positive control for a maximum of 1 hour at 60 ± 2 °C for Super Rapid Readout.
HAVE A QUESTION ABOUT OUR PRODUCTS?
WE´RE HERE TO HELP.


