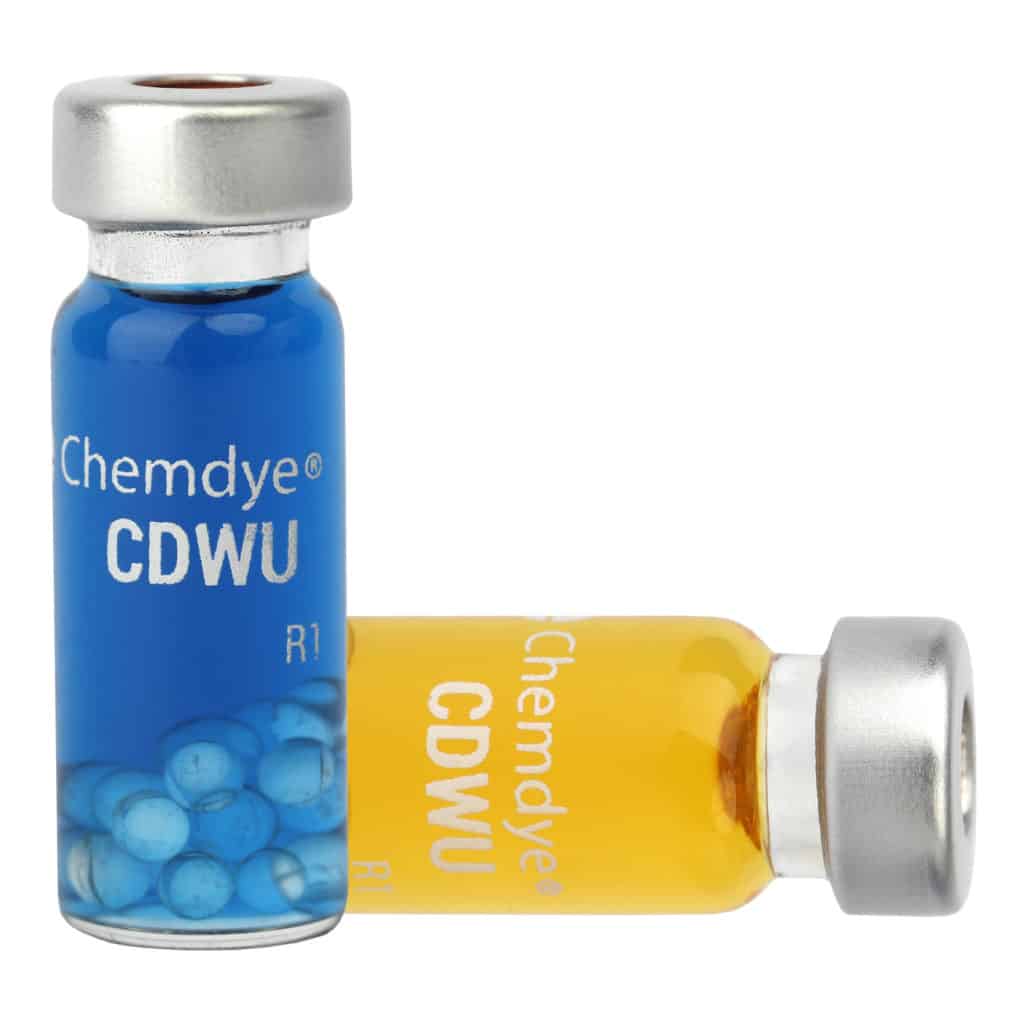
Hygiene monitoring system for detecting residual protein on surfaces
SKU:
KPRO2-E69
Categories Hygiene Monitoring, Protein Detection Vials
Tags Color Chart, Hygiene indicators
Additional information
| Brand | |
|---|---|
| Process | Hygiene Monitoring |
| Packaging | 18 |
| Possible target markets |
Description
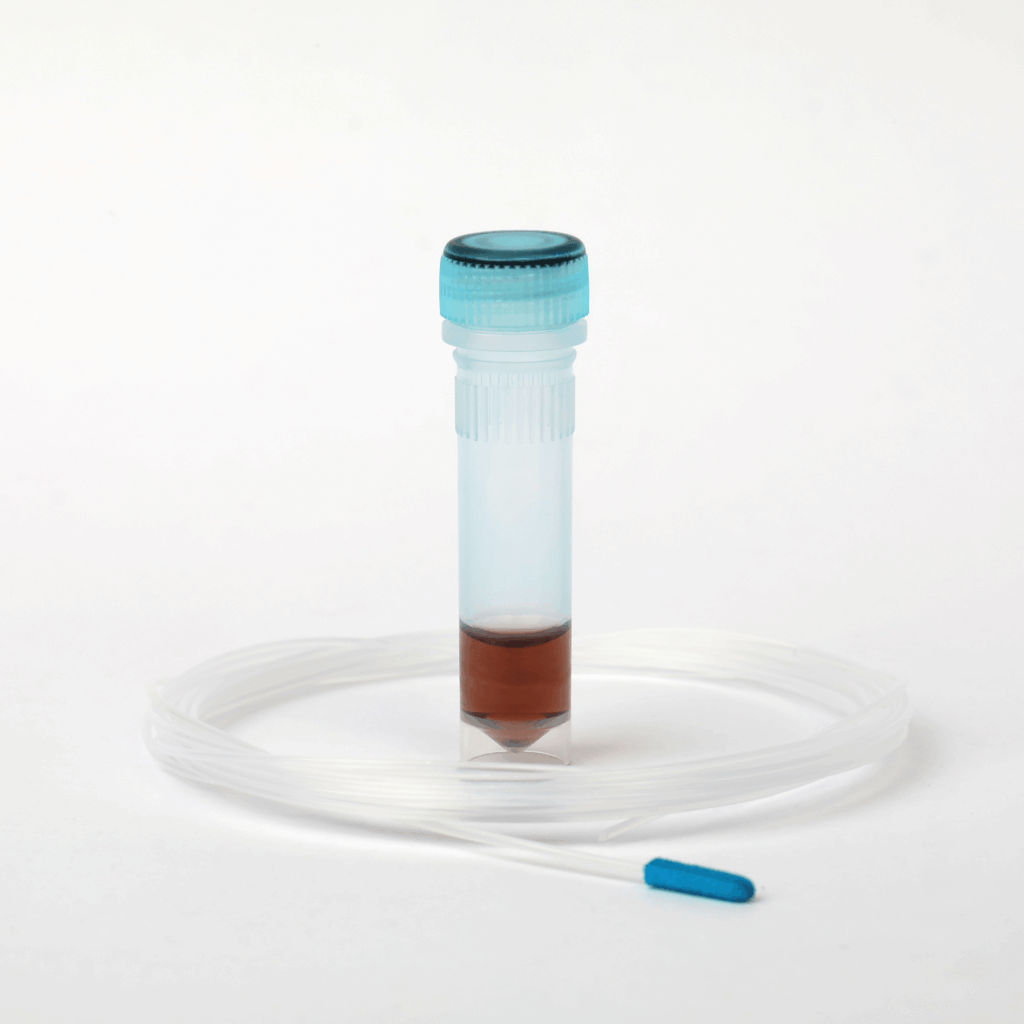
Designed to detect proteins on surfaces of surgical equipment after the cleaning process and in hard to reach areas.
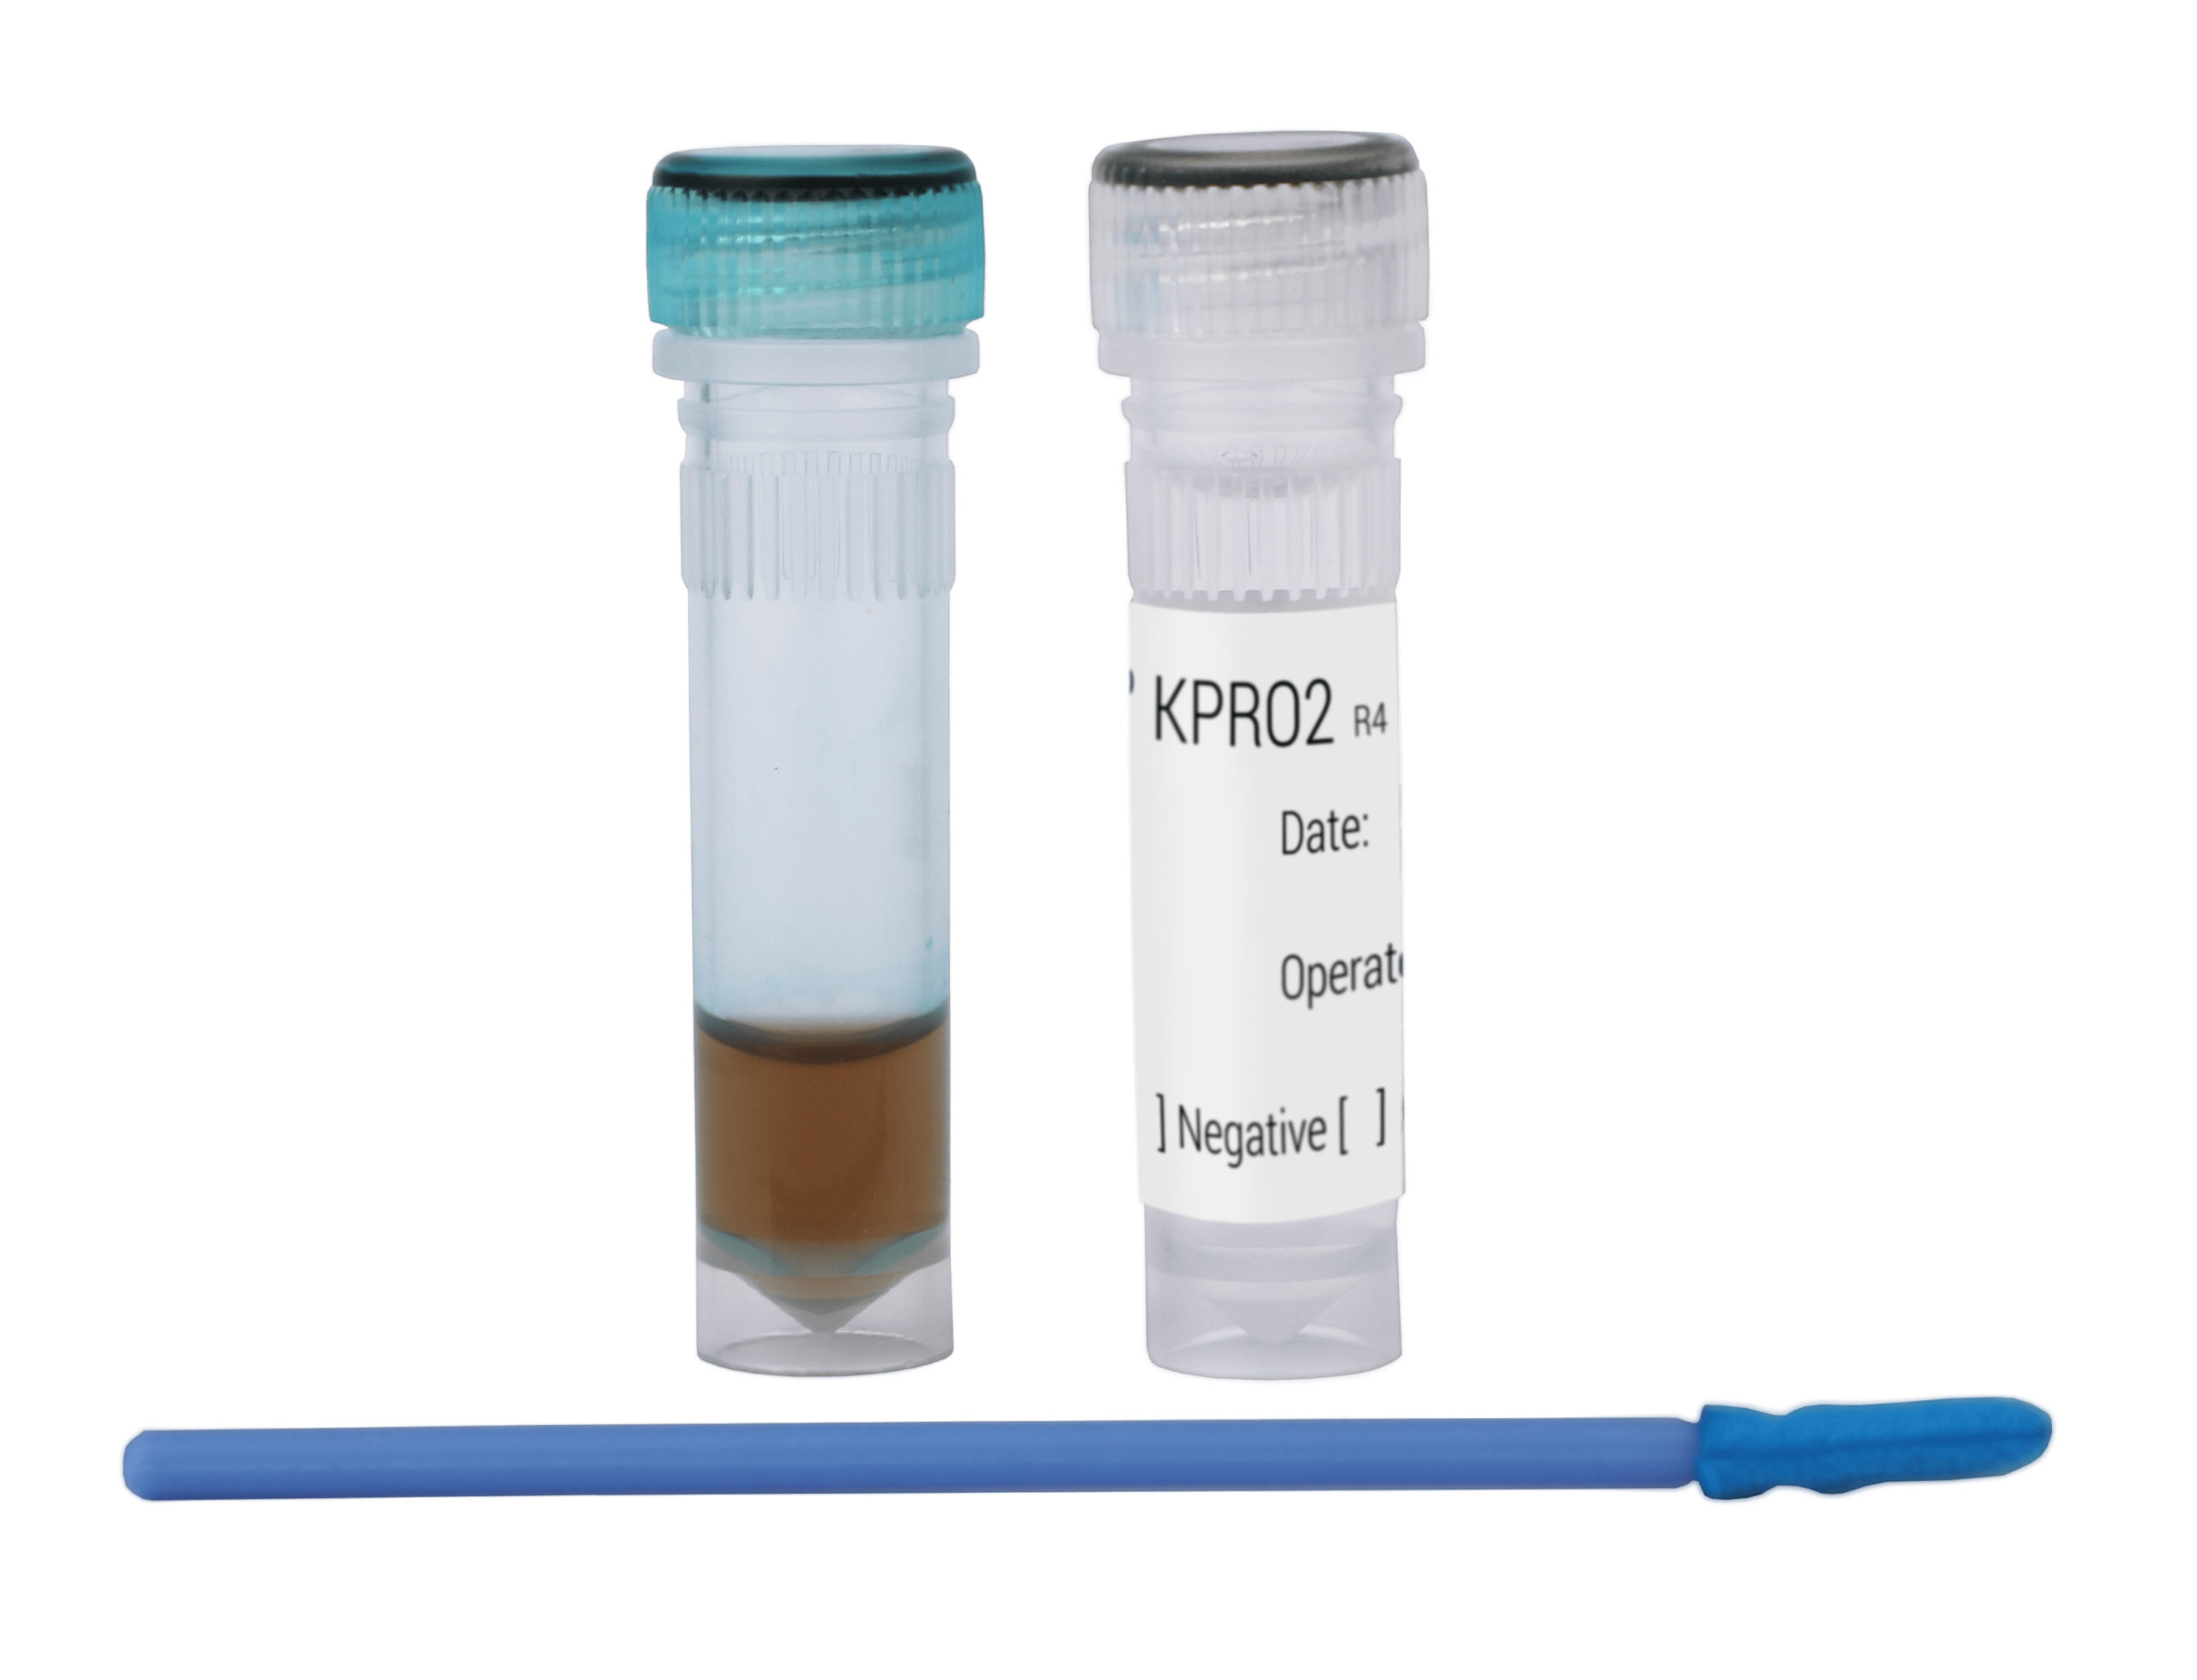
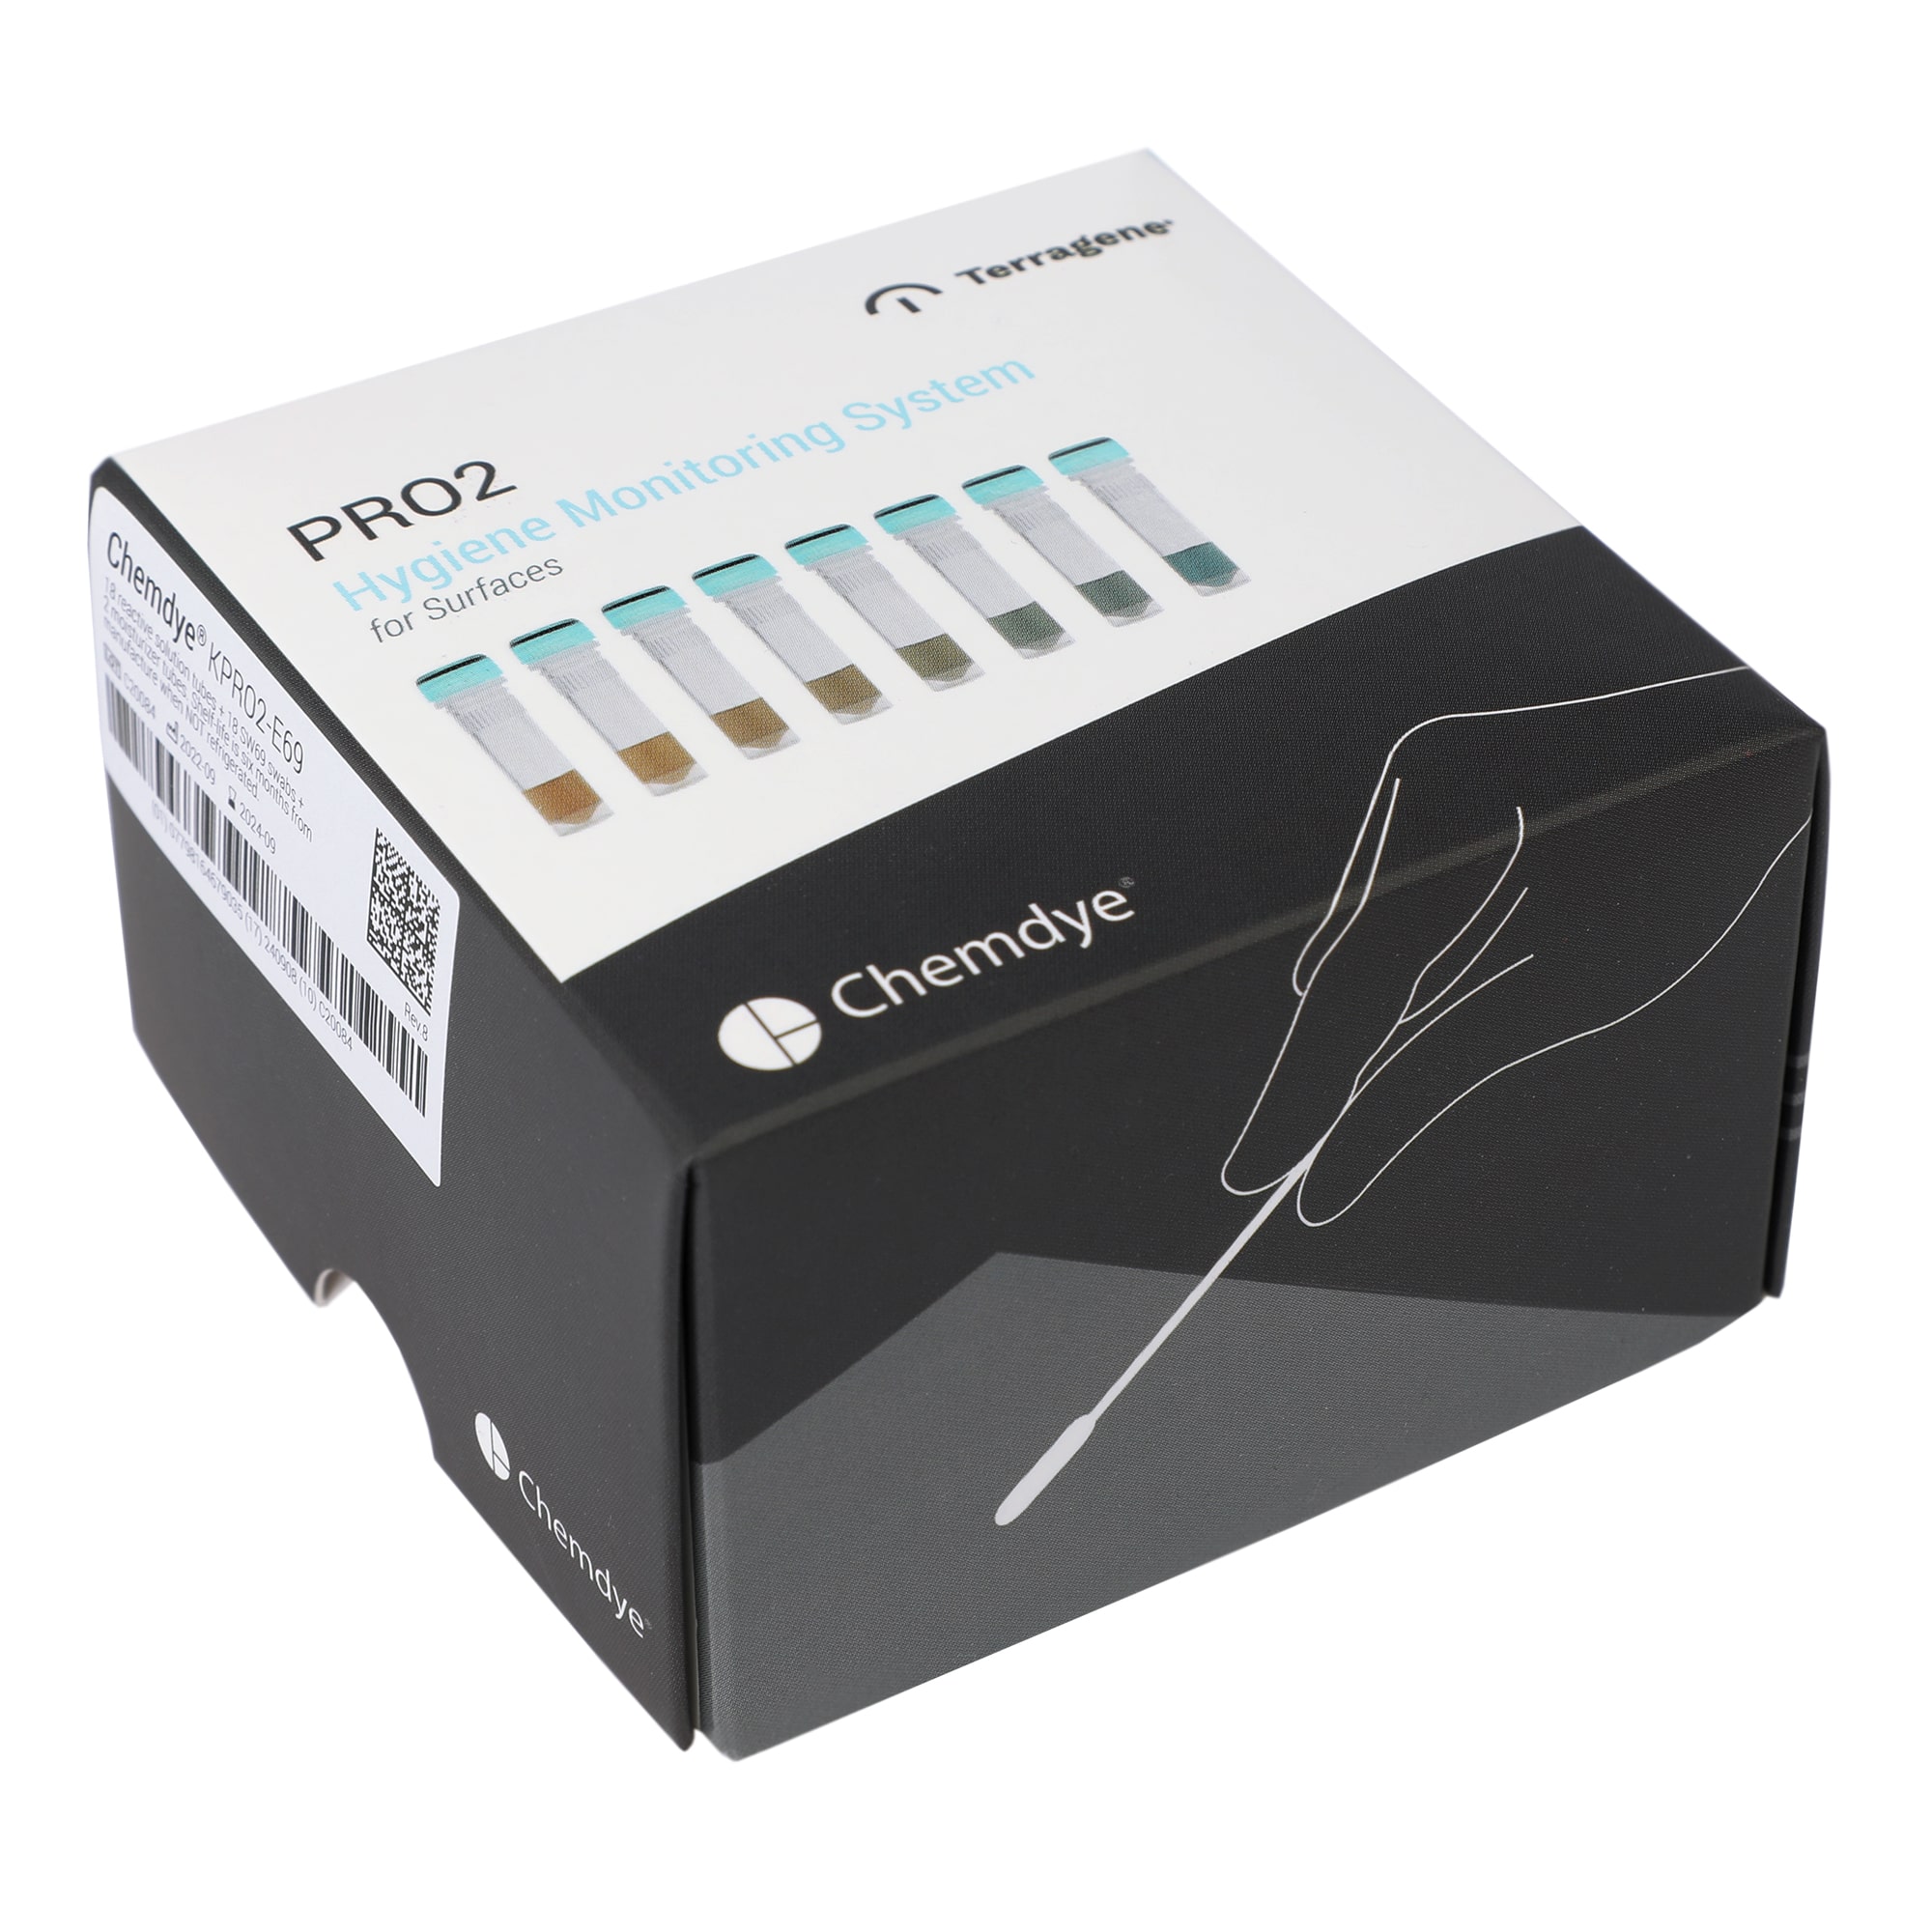
Chemdye® KPRO2-E69 and KPRO2-E250 Hygiene Systems were designed to check cleanliness of surgical equipment by detecting protein residues after an improper cleaning. The systems have a high absorption swab, allowing the collection of samples from different surfaces with the same efficacy.
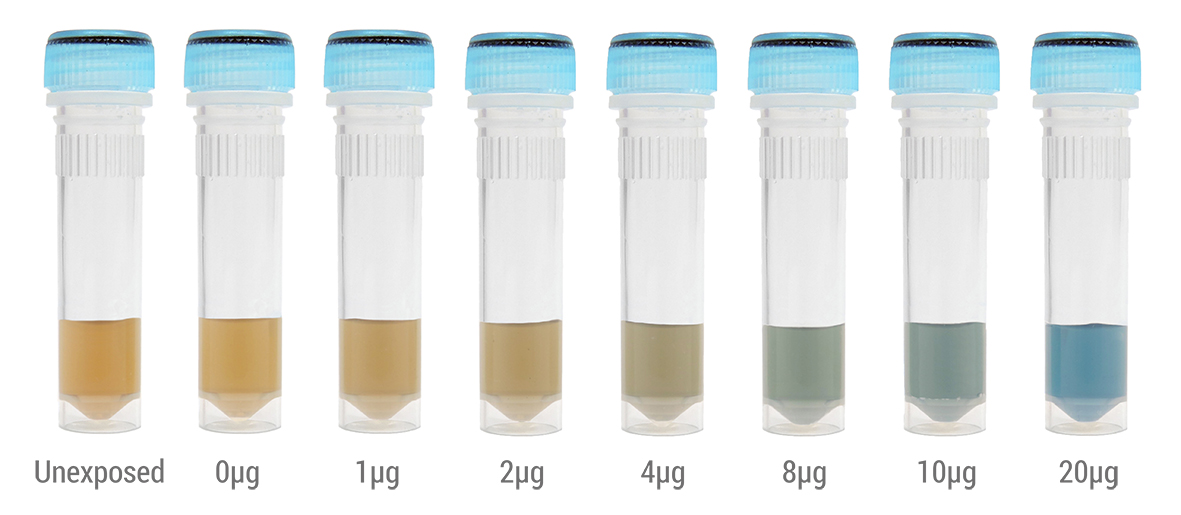
The systems are compatible with cleaning verification of endoscopes and other reusable instruments with hard to reach internal channels or cannulated instruments. For this, use the special SW250 endoscope swabs, which may be introduced through the biopsy channel of the endoscope to sample contaminants left after the cleaning process. A visual color change indicates the presence of detectable levels of protein. KPRO2-E69 and KPRO2-E250 have high sensitivity and can detect as little as 1 μg of protein.
Indications for use
1. Take a swab from the foil pouch without making contact with the absorbent part of another swab.
2. Moisturize the swab by immersing the swab tip into the moisturizer tube for 5 seconds before swabbing. Do not push the swab against the walls of the tube. Do not shake.
3. Slide the swab excessively over the surface where you want to collect the sample. NOTE:
A) When using SW250 endoscope swabs insert the swab into the endoscope channel and push it all the way through one time. Then, cut the tip of the swab (approximately 7 cm from the end) with a pair of scissors.
Be careful not to cut the distal end. Finally, pull the wire from the distal end to remove the remaining swab segment from the biopsy channel.
B) If you work under the ISO 15883 standard, it is recommended to sample approximately 10 cm2 of surface. Swab in zigzag in one direction and then do the same perpendicularly. Apply pressure on the swab and rotate it while collecting the sample. For performing comparable cleaning tests, you must standardize surface sampling. In order to achieve this, it is advisable to take the sample always at similar points of surface, with an invariable area of 10 cm2, swab 10 times in each direction. C) If you work under the HTM 01-01 standard, pick one size of the surgical instrument to be tested and swab thoroughly over its surface. Apply pressure on the swab and rotate it while collecting the sample.
4. Unscrew the cap of the vial and immerse the swab tip (or the initial segment of the endoscope swab) in the reactive colorimetric solution, move it for 15 seconds into the solution.
IMPORTANT: Do not push the swab against the walls of the tube, just immerse and move the swab into the solution. If hydration or immersion procedure was incorrect, the analysis might be affected.
5. Discard the swab and screw the cap back on the reagent vial. Color development will be complete after 1 minute and will be stable during 20 minutes.
6. Interpret results visually by using the reference guide. By comparing the color of the test against the reference guide, an estimation of the surface cleanliness can be made:
IMPORTANT: Results analyzed beyond the recommended period are not
valid.
7. After using the KPRO2-E system, reprocess the instrument or the
surface used for the monitoring of proteins.
HAVE A QUESTION ABOUT OUR PRODUCTS?
WE´RE HERE TO HELP.


